 |
denoonsp - Home of the modified 400F | Advertise here. |
| HomeLinksSite Map |
| Projects |
| My CB400F |
| Turbo CB400F |
| Products |
| Services |
| Technical Info |
| Forums |
| Gallery |
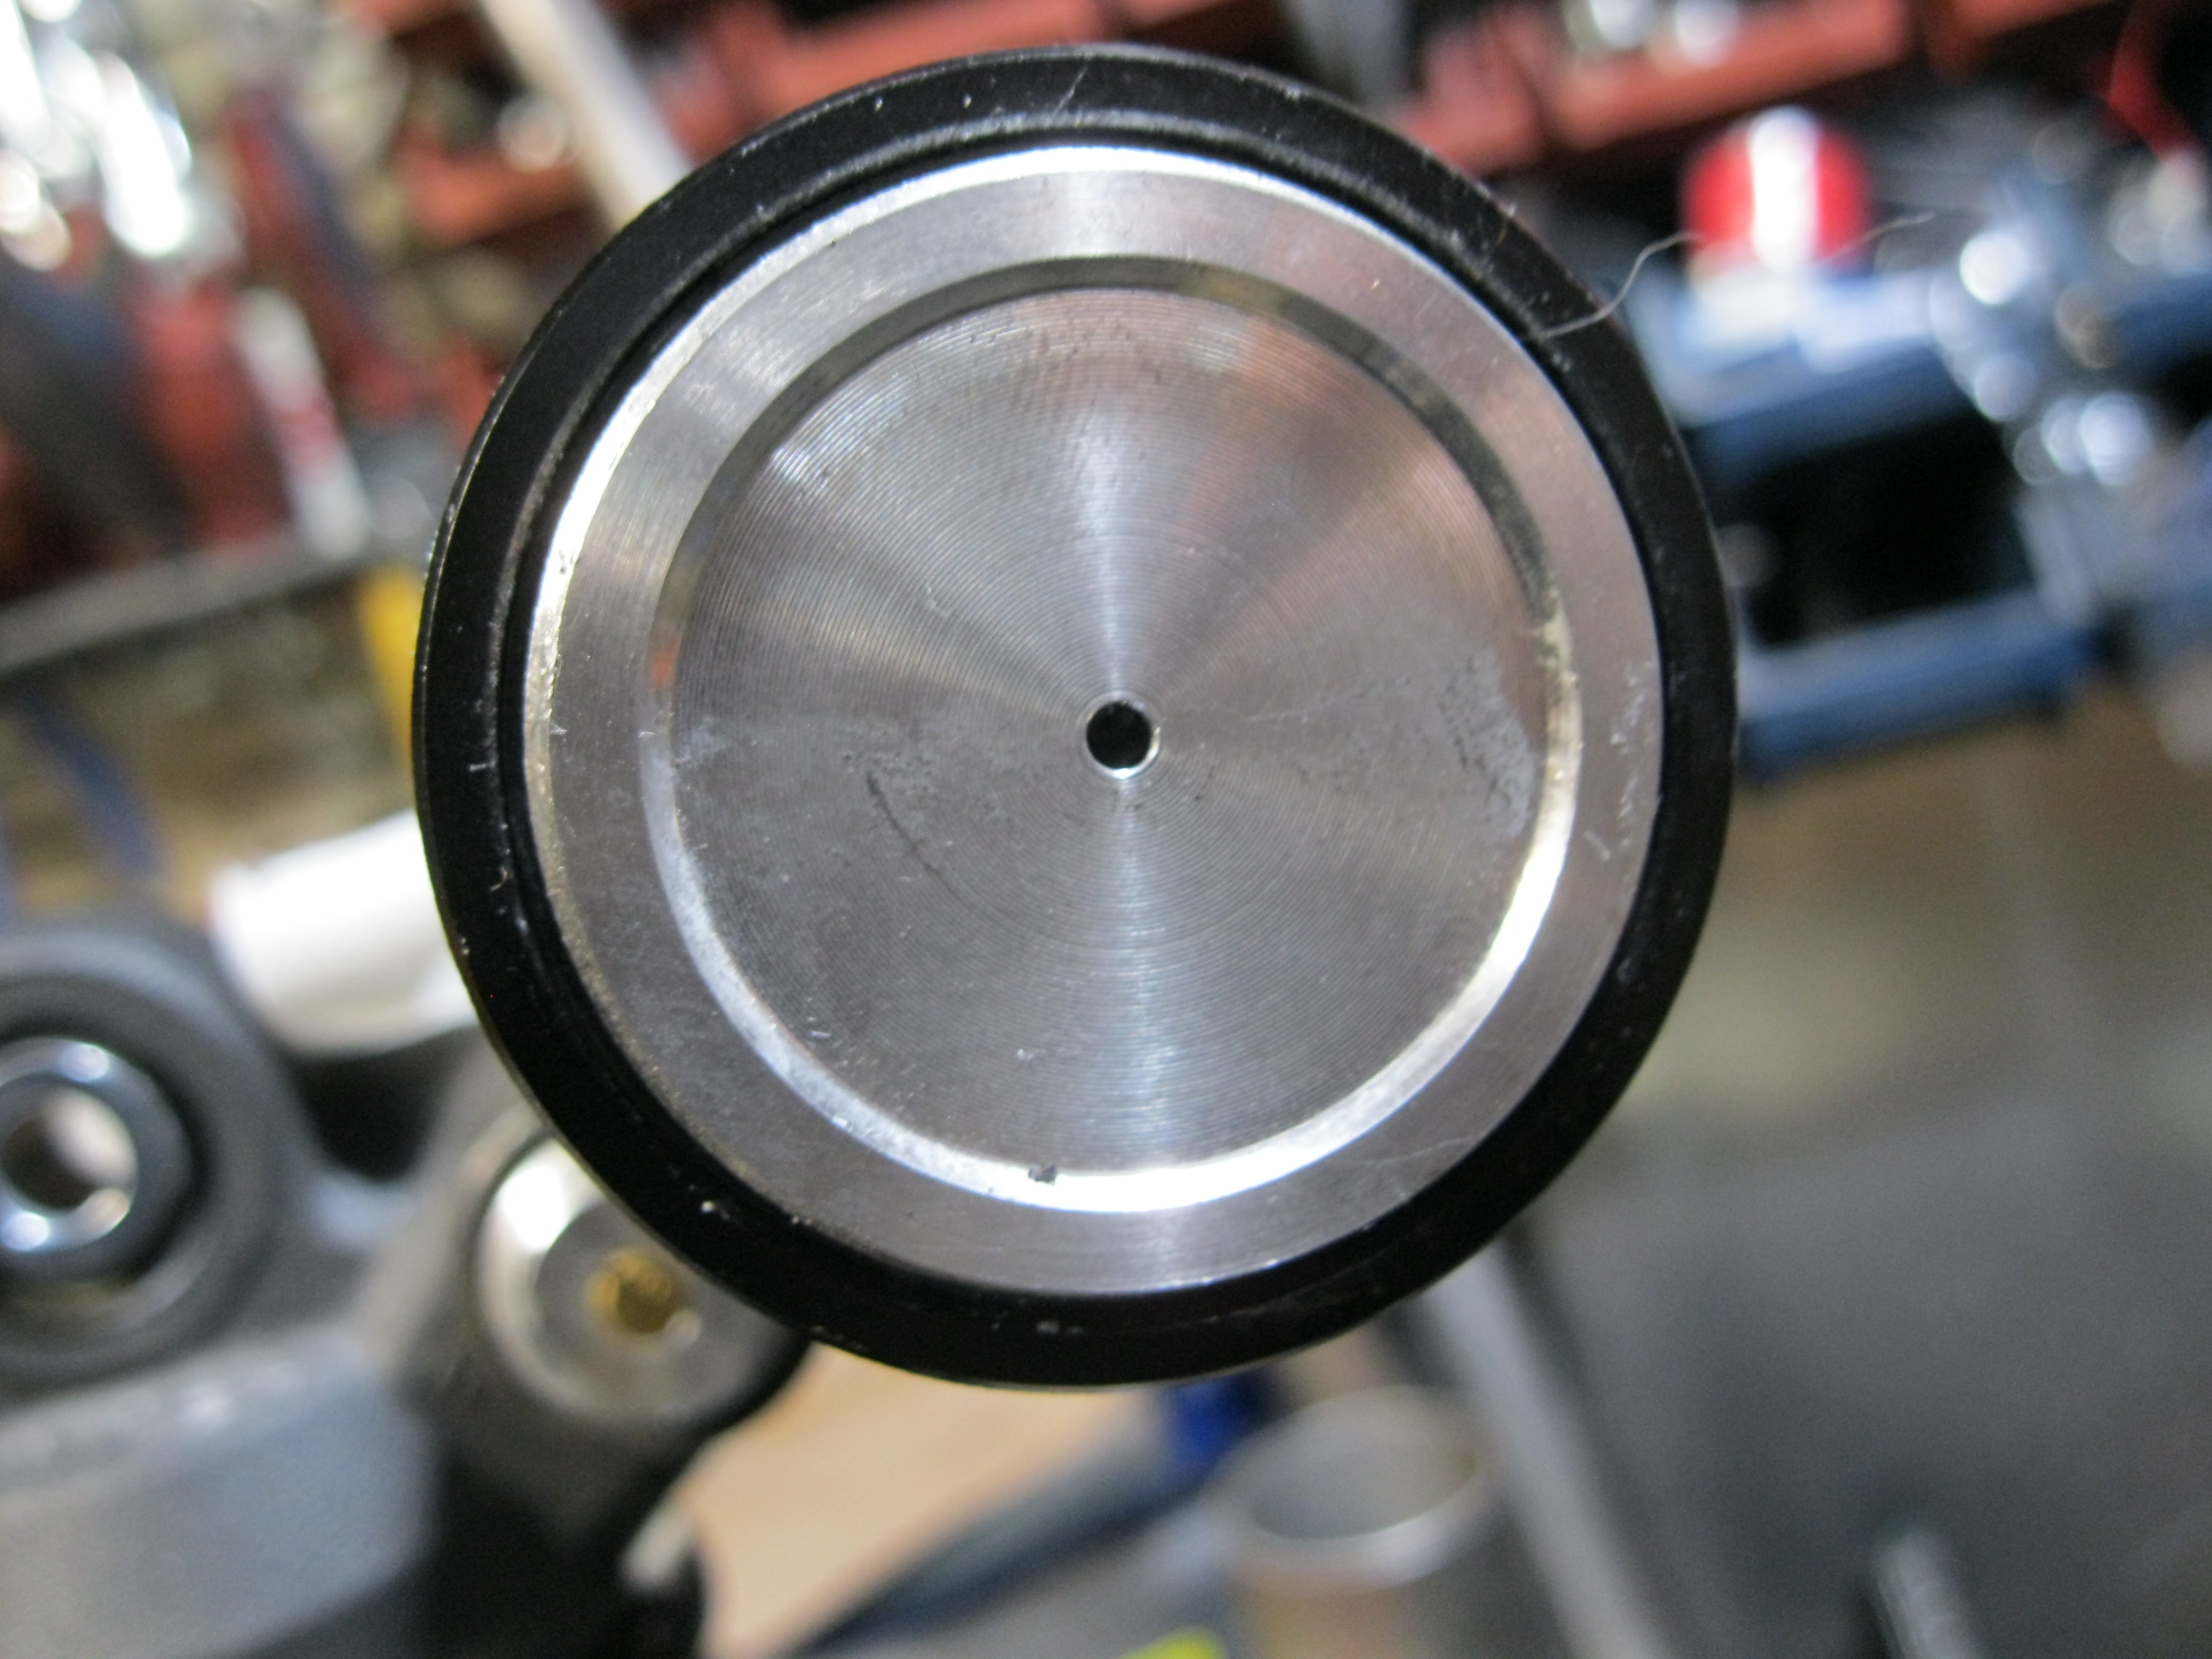
2014 CBR600RR shock DisassemblyI picked up a CBR shock off ebay for a fair price to use on a new project. It wasn't going to work as configurated because there wasn't room for the built in shock reservoir. I came across a forum thread where someone modified on ene of these shocks by cutting off the reservoir, capping the openinings of the shock and reservoir, then connecting them back up with some 1/8" NPT fittings and a stainless steel brake line. This is the original forum thread https://fz07.org/thread/8821/cbr600rr-shock-airbox-clearance-issues/ I knew how to disassemble an older version of this shock, documented here 2005 CBR600RR Shock Rebuild , but right off the bat this one was a little different. Rather than having a steel cap over the end of the reservoir, this one had an aluminum cap with a small hole in it.
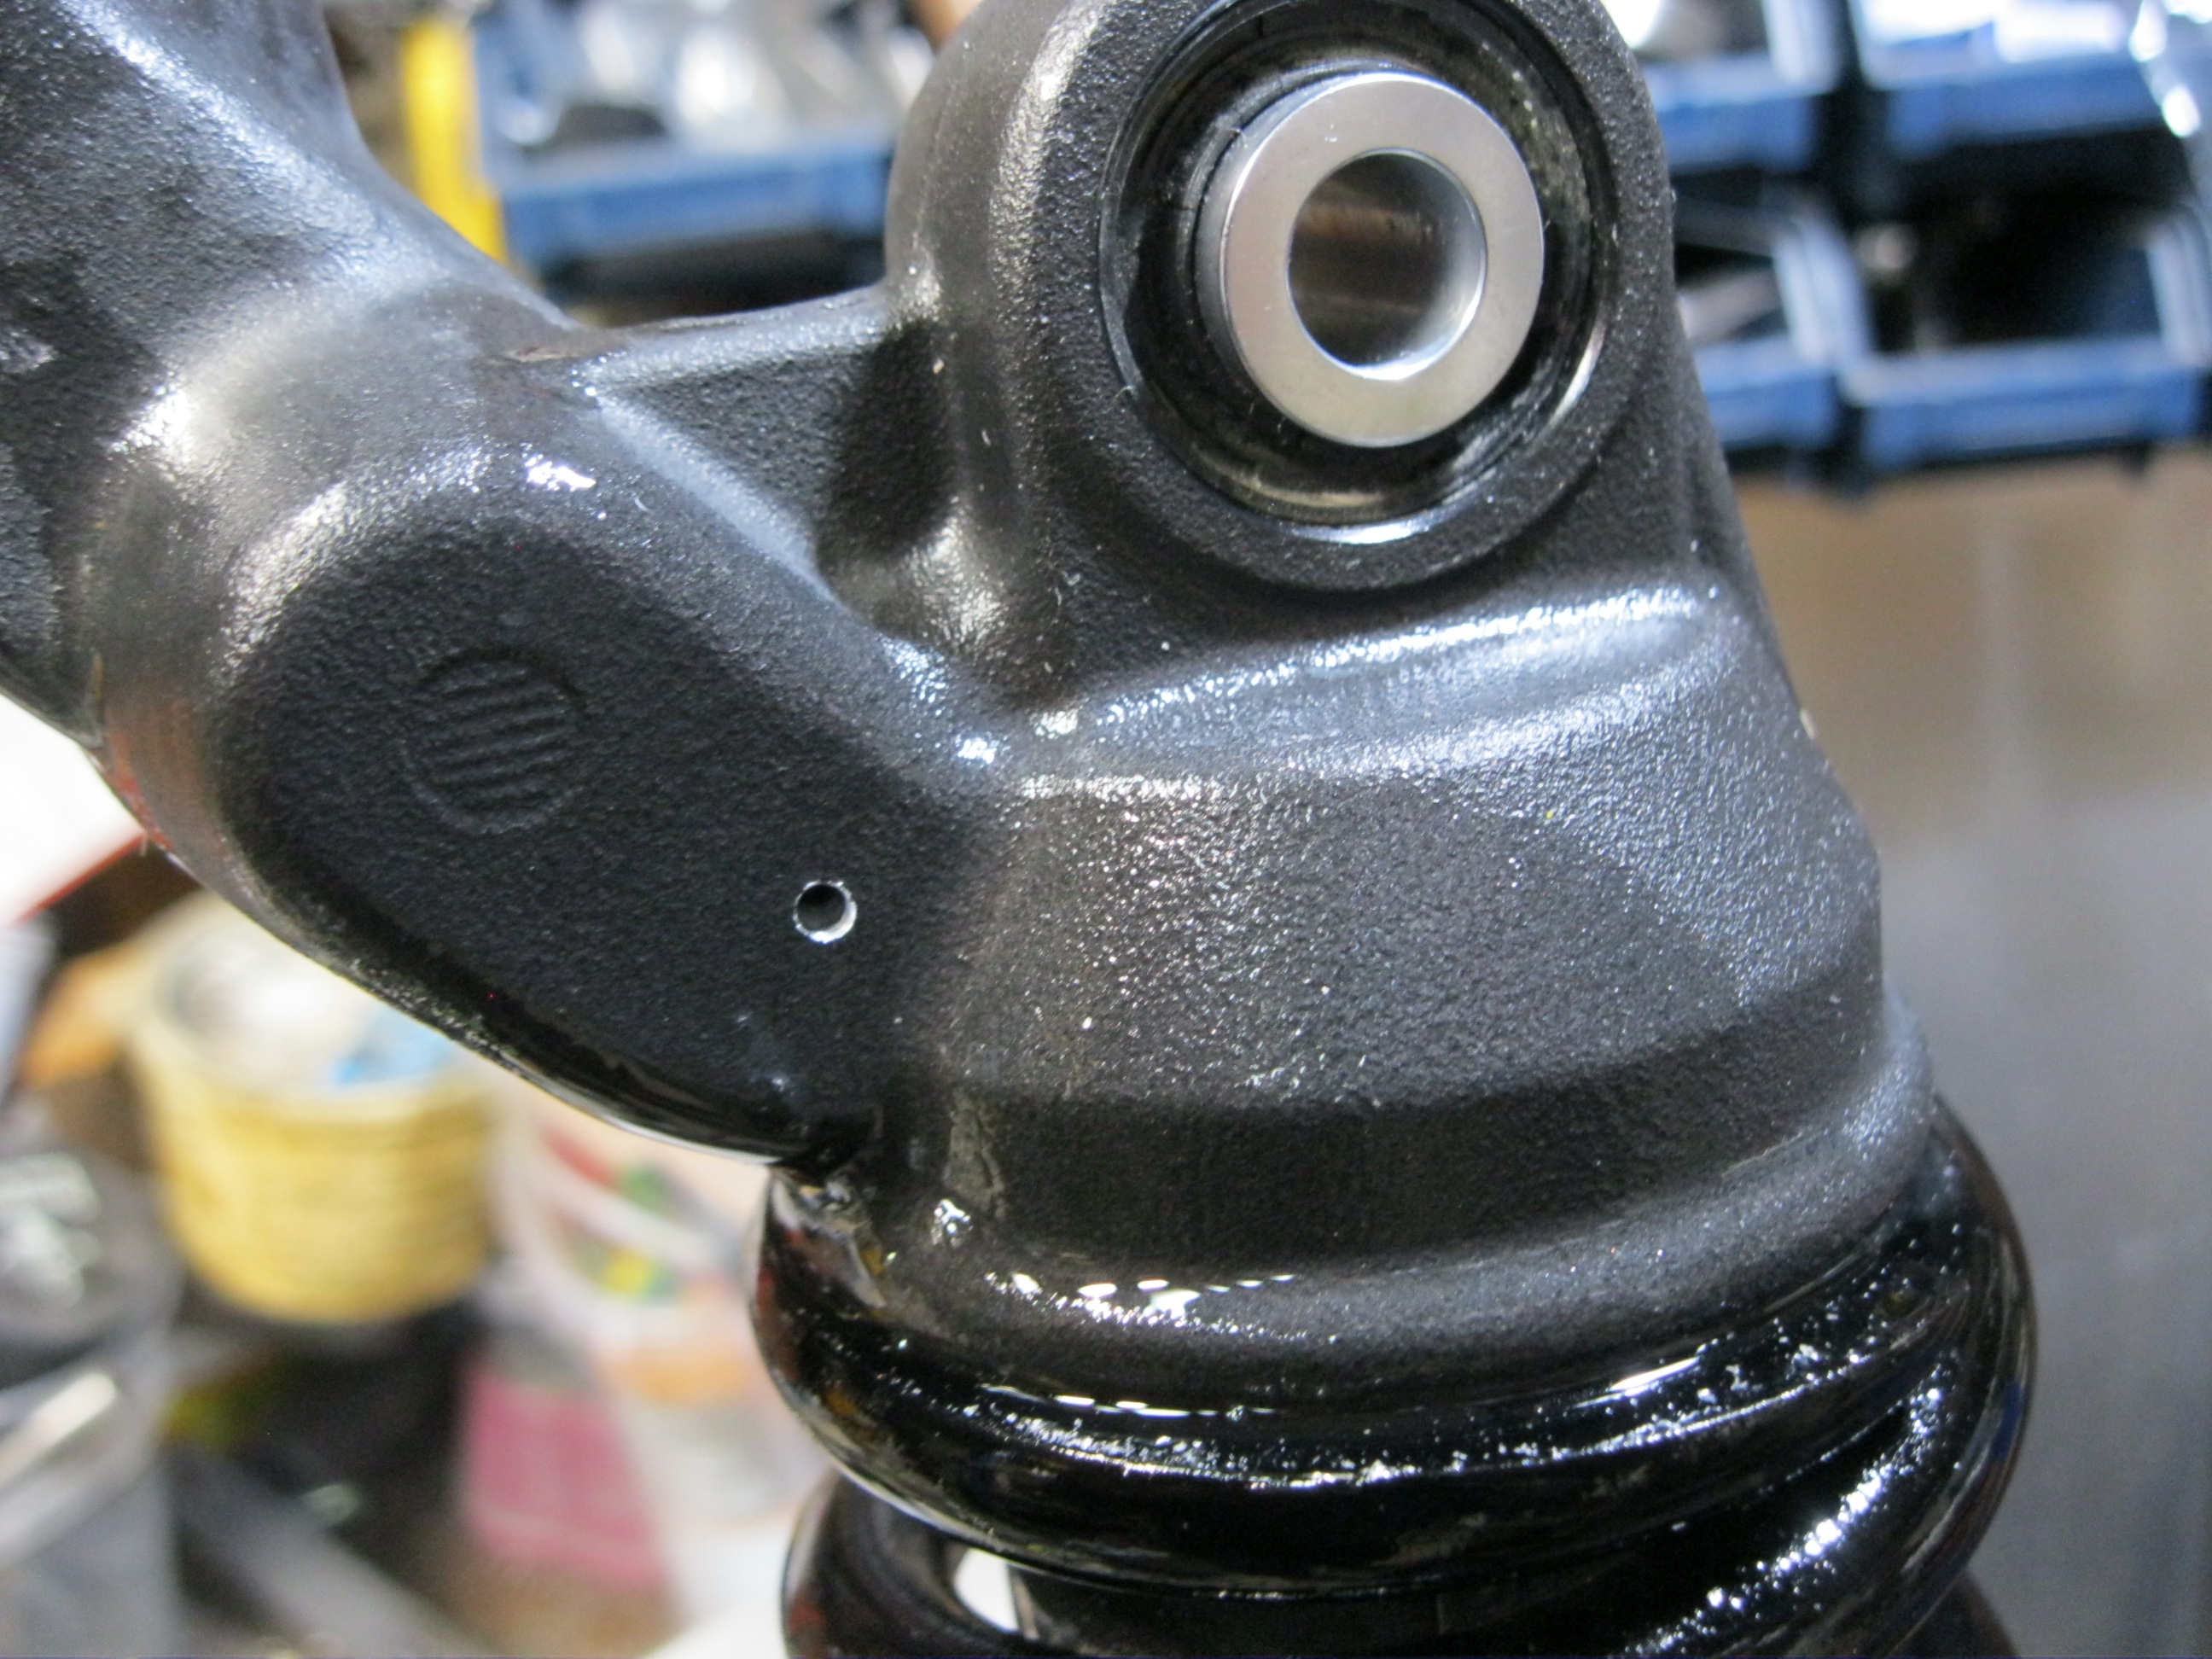
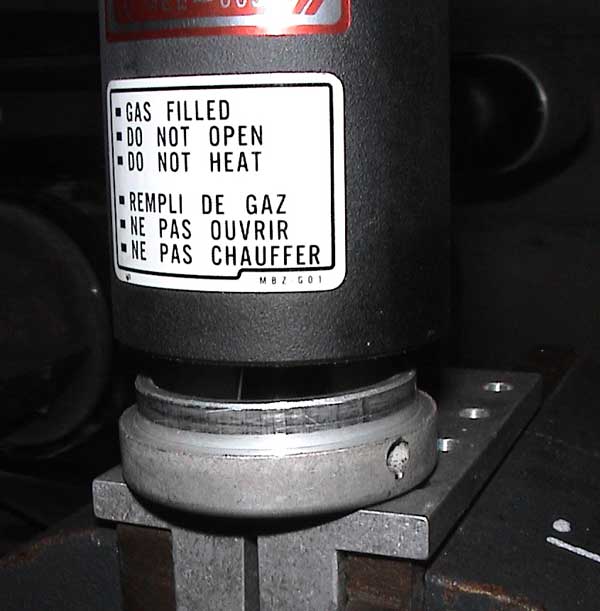
Based on the construction of the older version of this shock, I thought this was only a cap, and there would be another plug underneath with a schrader valve. The FZ thread didn't go into any detail on the shock disassembly, so I was on my own there. I knew I needed to release the pressure in the shock, so my plan of attack was to drill this hole out a bit so I could see inside and get in there with a tool of some sort to release the pressure via the schrader. As I started to drill I hit some rubber, and immediately stopped. I thought that I might be drilling right into the internal bladder! A different tactic was required. I knew from looking at the pictures posted on the FZ07 thread that there was just an open cavity between the body and the reservoir so I decided to drill a small hole there to releive the pressure. I knew there was a distinct possiblilty there would be oil here, I covered the area with a rag as I drilled the hole, and made sure it was pointing away from my face as I did it. Good job I prepared for it, because there was a definite gush of oil at 150 PSI shoot out of the hole. The rag contained most of the mess, and I could proceed with the process.
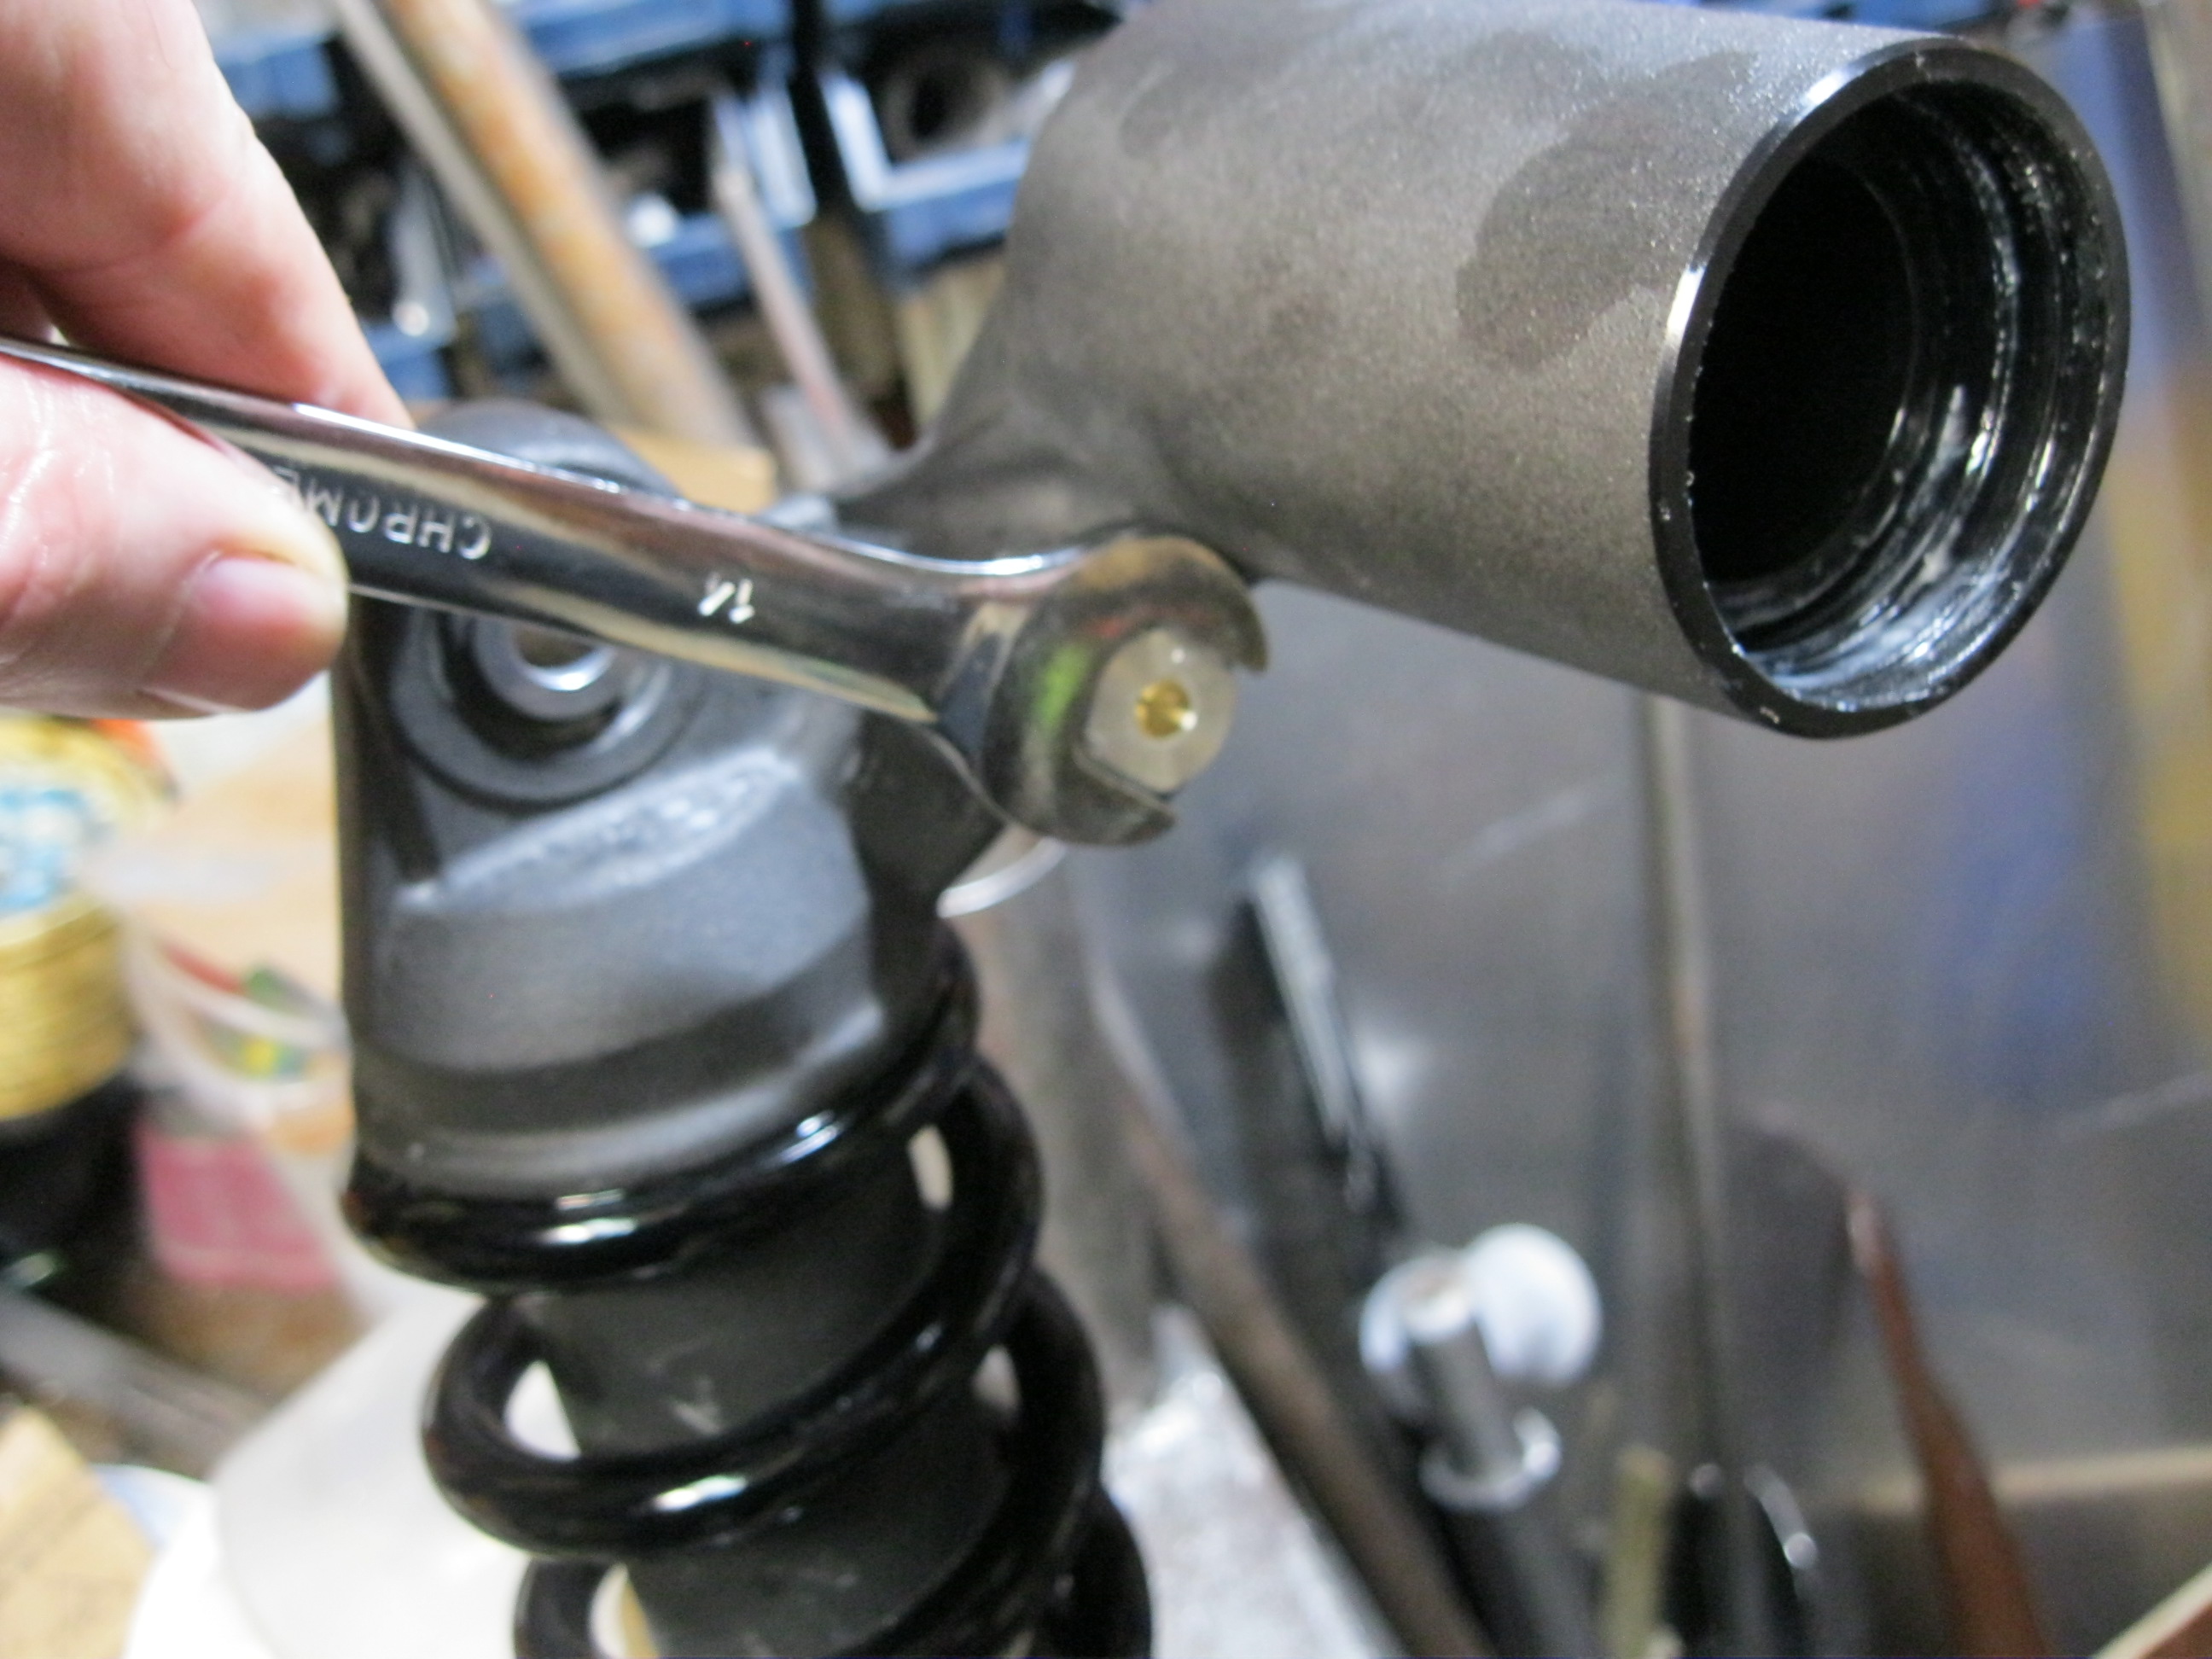
Hole drilled to relieve pressure Next was to drain the remainder of the oil. I used a clamp to compress the cap on the reservoir and access the ring clip that holds the cap in place.
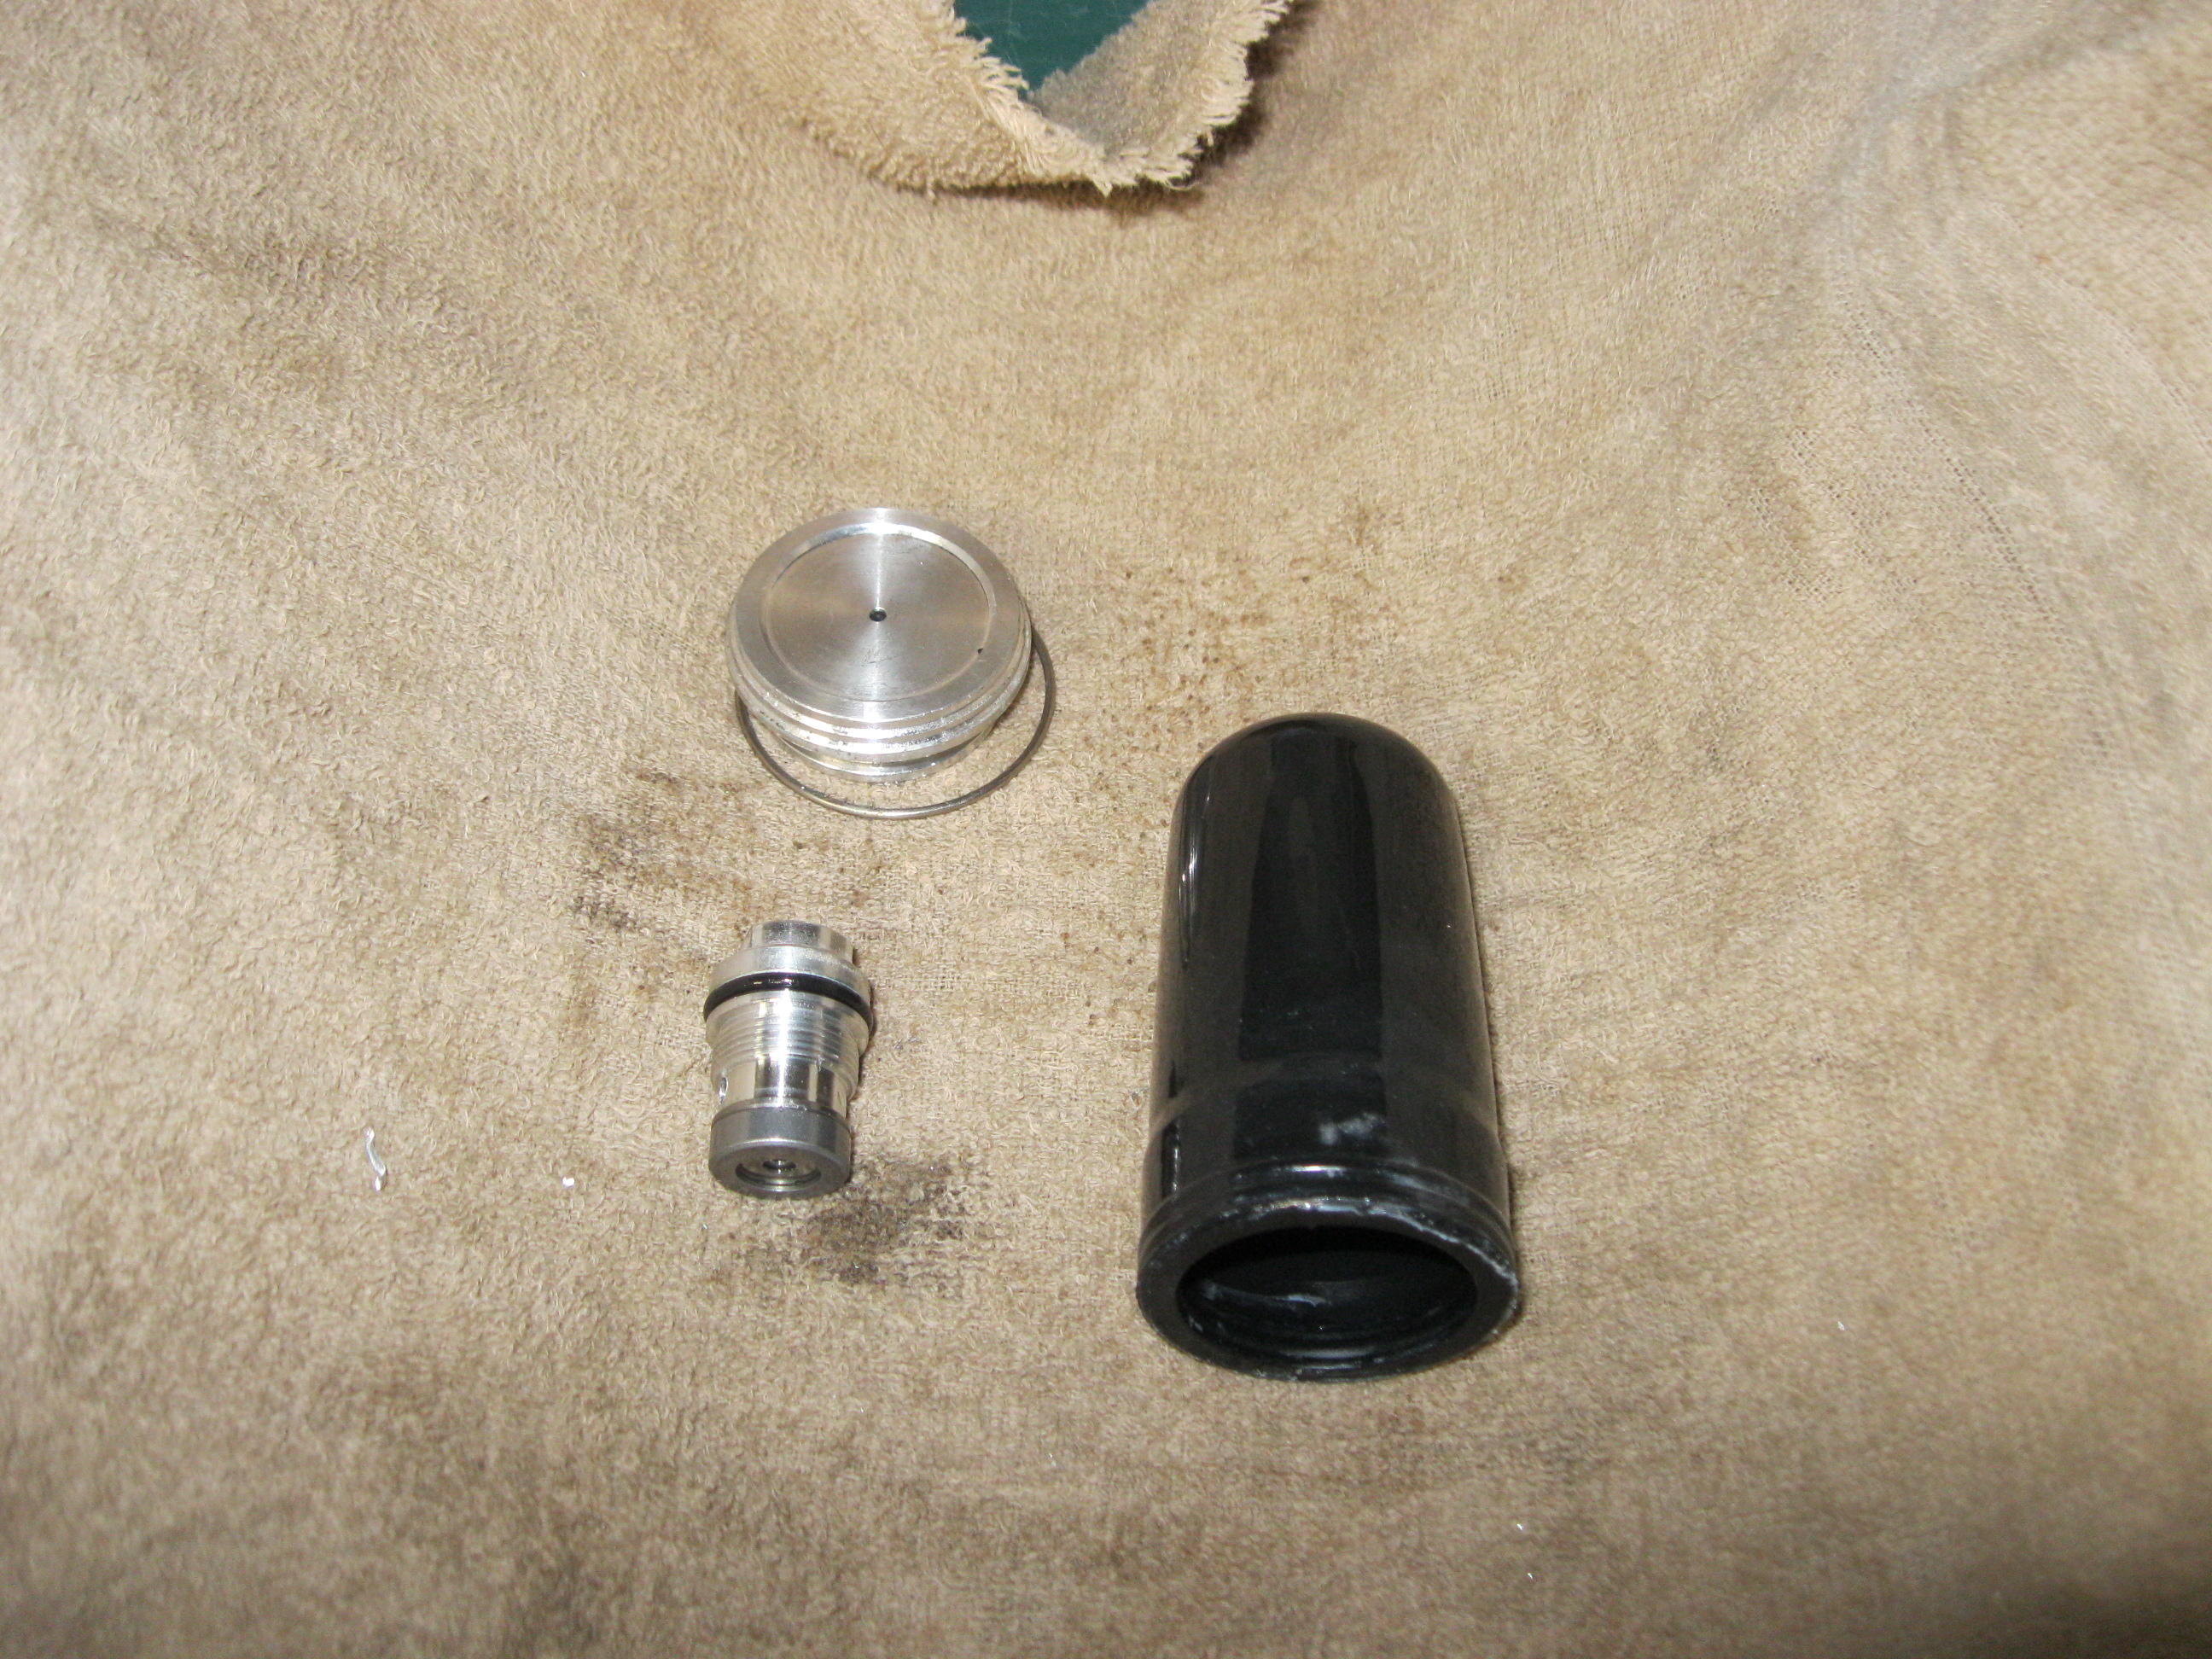
Once the cap was off, I could drain the oil, remove the compression cartridge, and see what I was really dealing with.
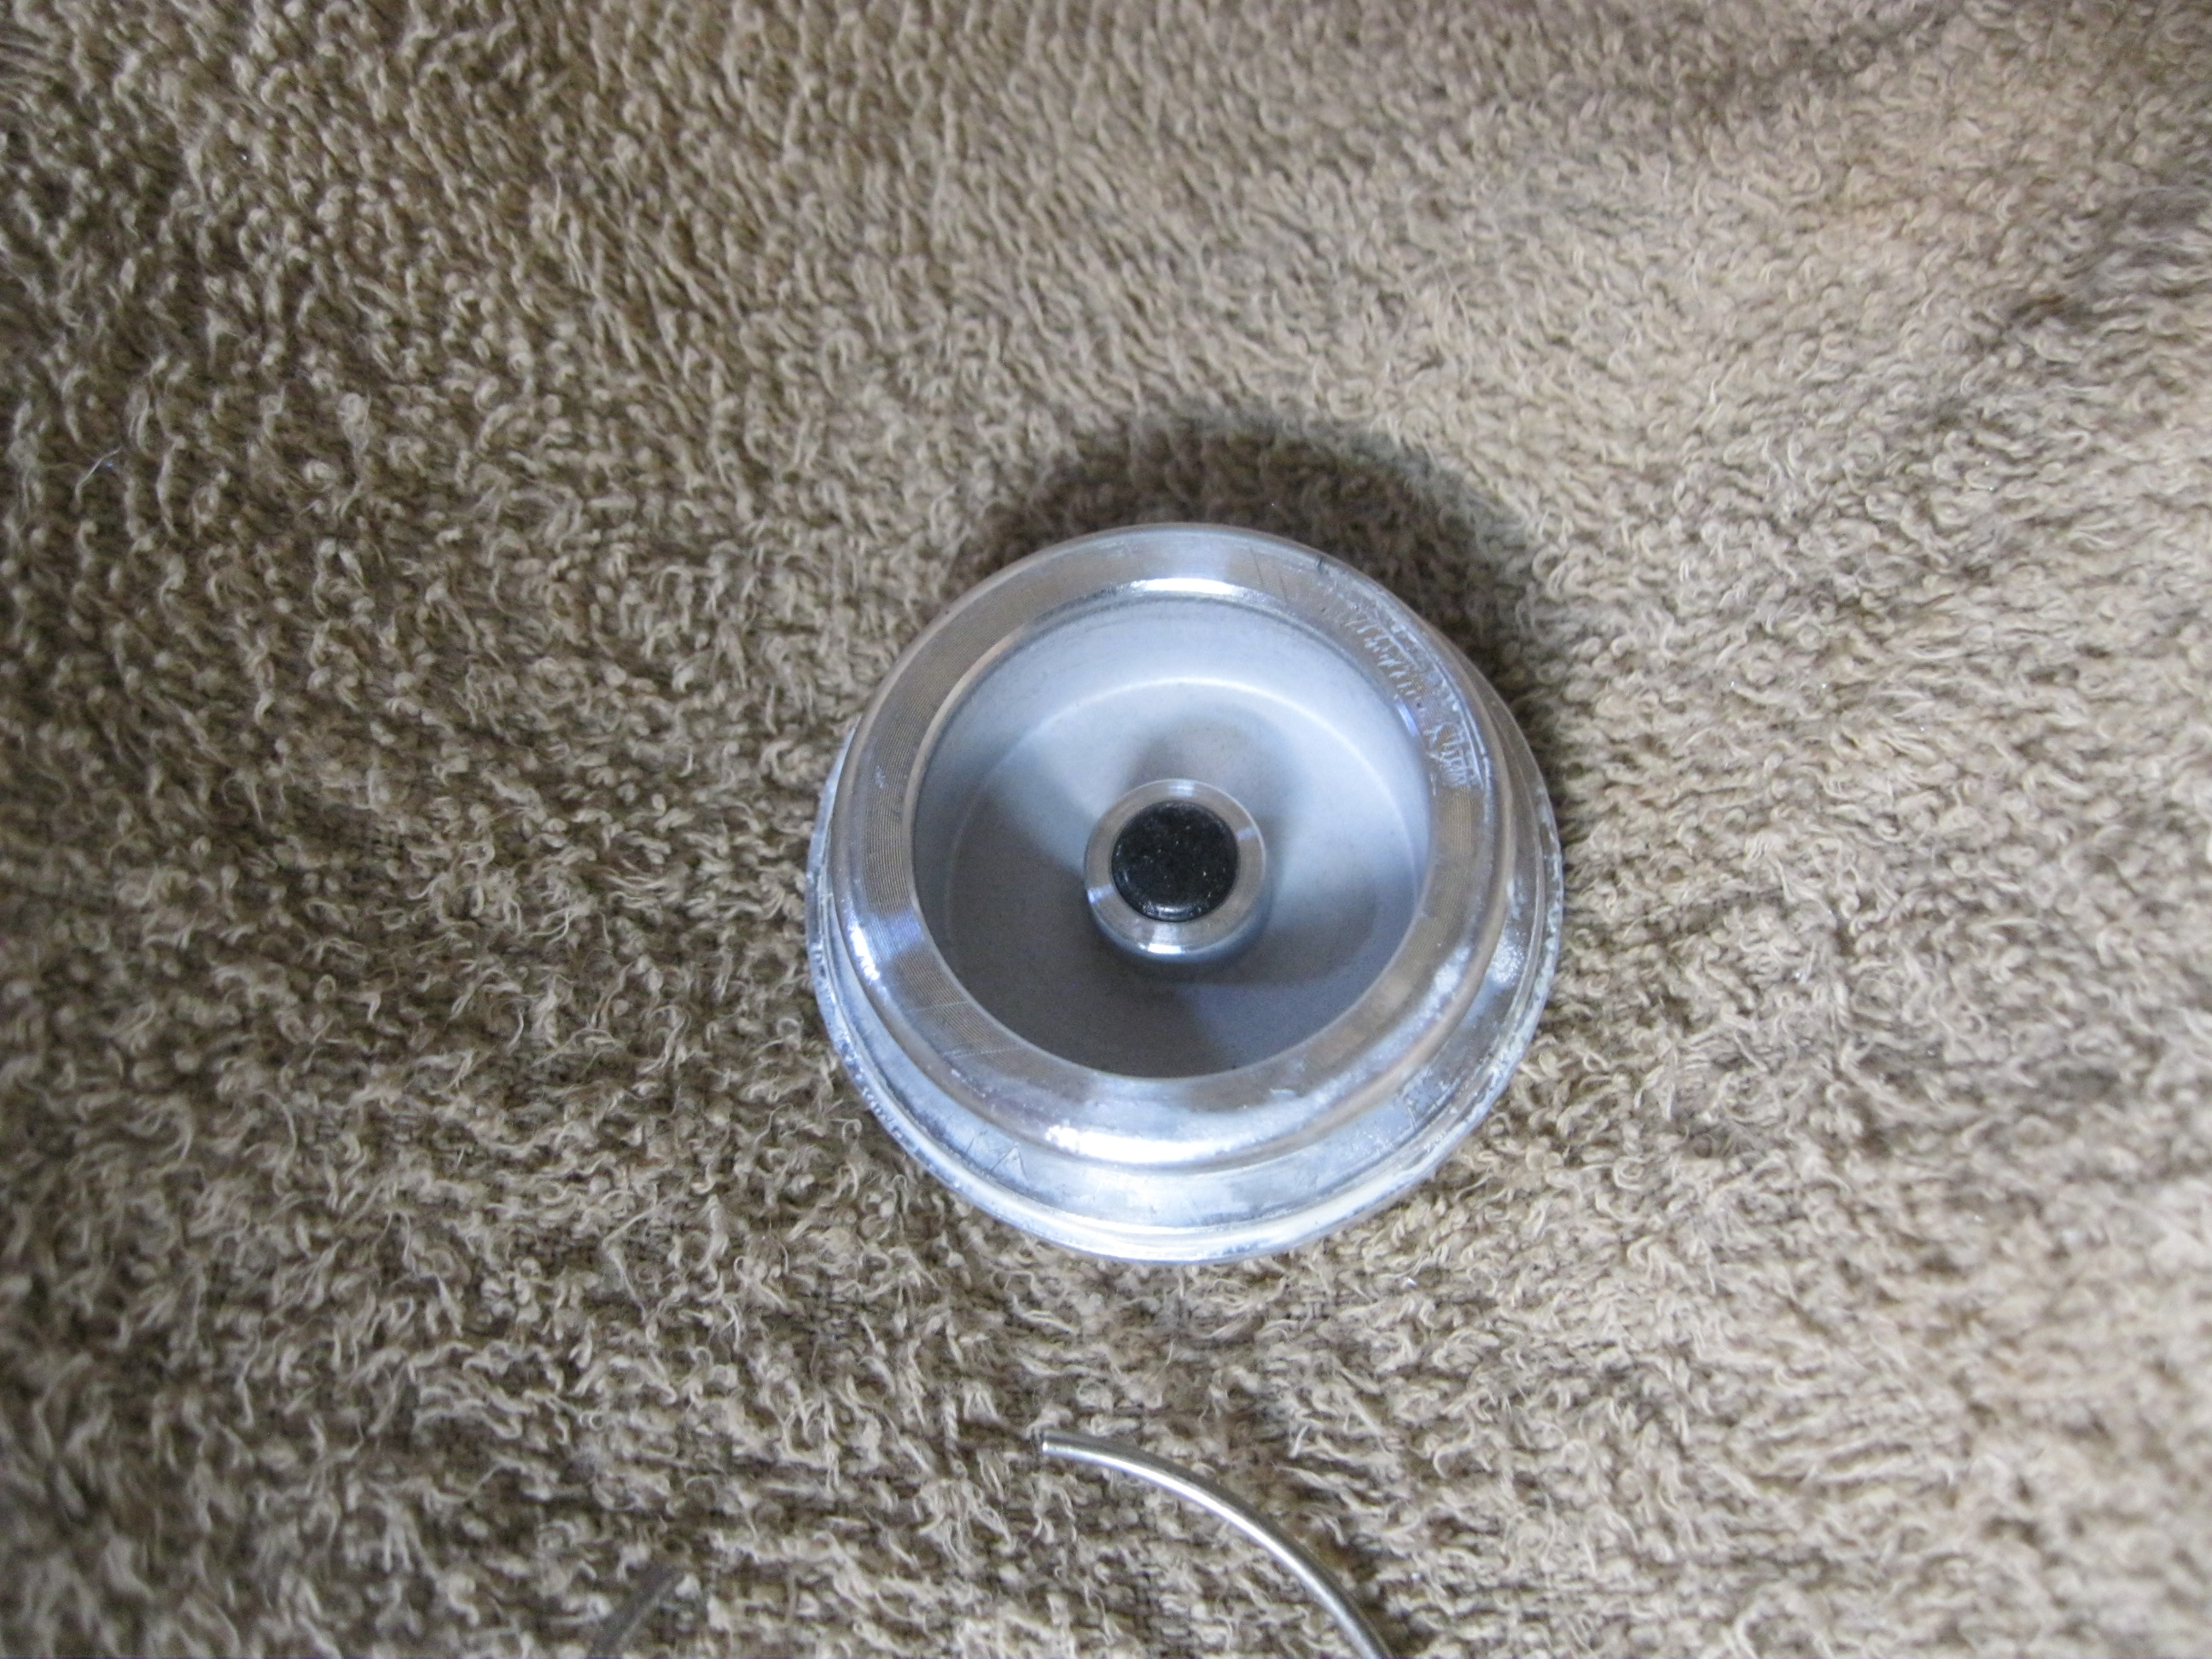
Cartridge simply unscrews. I found that there is no schrader valve. The rubber that I drilled into is a rubber plug. I think that how they fill the shock with nitrogen is to simply pierce the rubber plug with a needle, pressurize, and quickly remove the needle. There is enough pressure to seal the tiny hole that the needle created. I can't see how else they could pressurize the system without a mechanical valve.
Backside of the cap with the rubber plug shown.
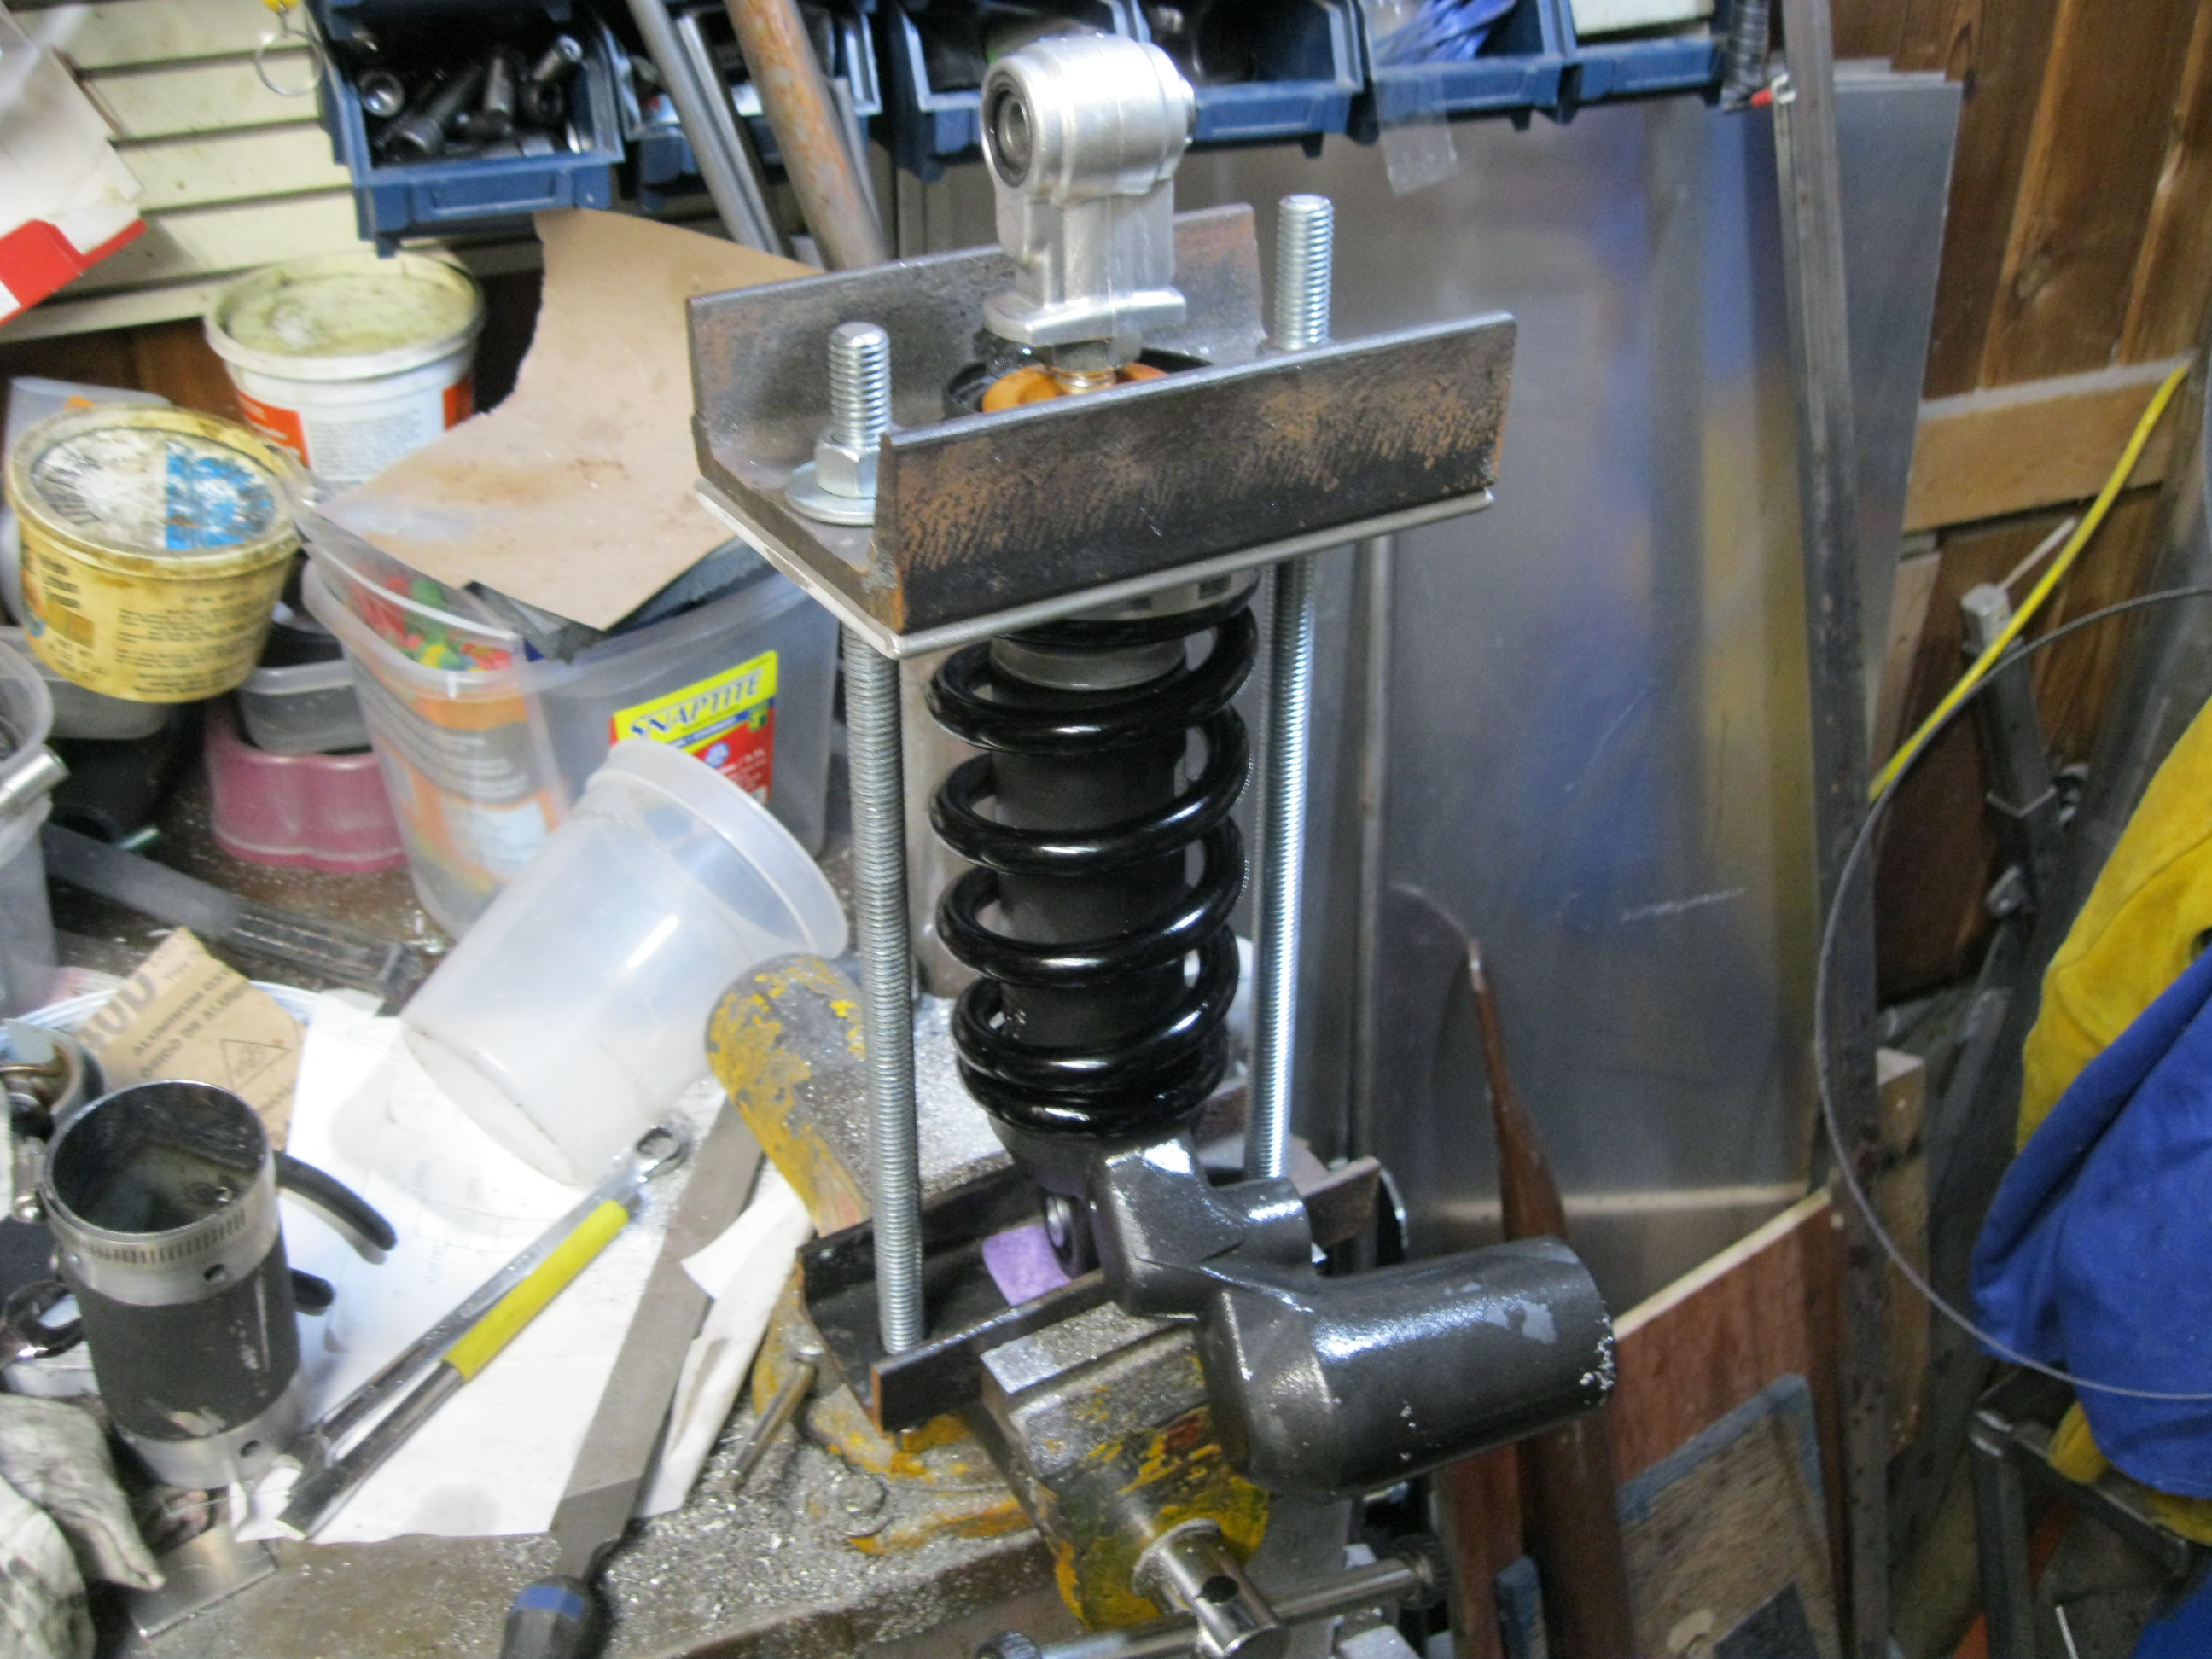
Reservoir components - Cap with retainer clip, rubber bladder, and compression cartridge valve. Next was to remove the spring. I had made up a spring compressor for the 2005 era shock that I have on my current bike, and it worked for this one too. Once the spring is compressed, there is a C-clip that you can pull out, and then the spring adjuster and spring will come off over the bottom clevis.
Once the srping is free from the body, you can disassemble the body. You first need to remove the aluminum cap from the body. You might think that is screws in place, but it is really just a press fit. I placed a couple of allen keys into the holes and tapped on them with a small hammer. The cam popped right off.
Image from Peter Verdone Once the cap is off you can access the retainer clip and remove the valve body as described here 2005 CBR600RR Shock Rebuild With the body there is a distinct difference to the 2005 era design. On the 2005 era shock the valve assembly is held on to the shaft with a nut that has been peened in place with a couple of punch points. On the 2014 design, there is no peening, but the nut will not simply unscrew. I would guess that the last two or three threads protruding from the nut are peened over somehow to upset the threads. I suspect if you really wanted to get the valve off the shaft you could carefully grind the outer edges of those threads with a dremel tool, and get the nut off. Presented with this obstacle I just decided to stop where I was. With the reservoir separated from the body I removed the upper spherical bearing. You just pry out the seals on each side of the bearing, done carefully they are re-useable, remove the retaining clip, and press out the bearing. I machined up a couple of fill plates incorporating 1/8" NPT female threads, and welded them in place to plug the openings.
|

This website was powered by Ewisoft Website Builder.