 |
denoonsp - Home of the modified 400F | Advertise here. |
| HomeLinksSite Map |
| Projects |
| My CB400F |
| Turbo CB400F |
| Products |
| Services |
| Technical Info |
| Forums |
| Gallery |
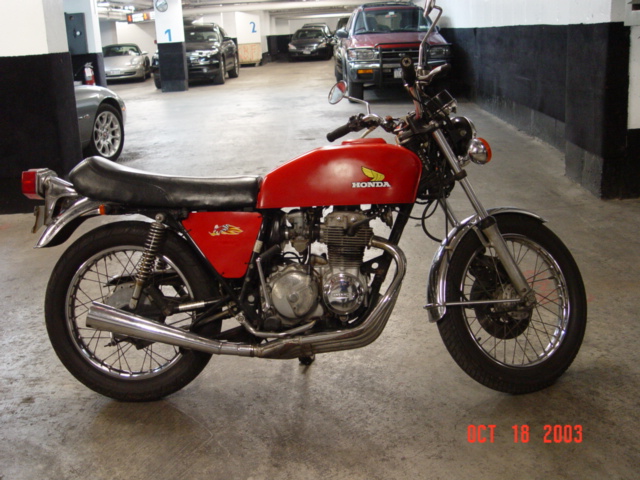
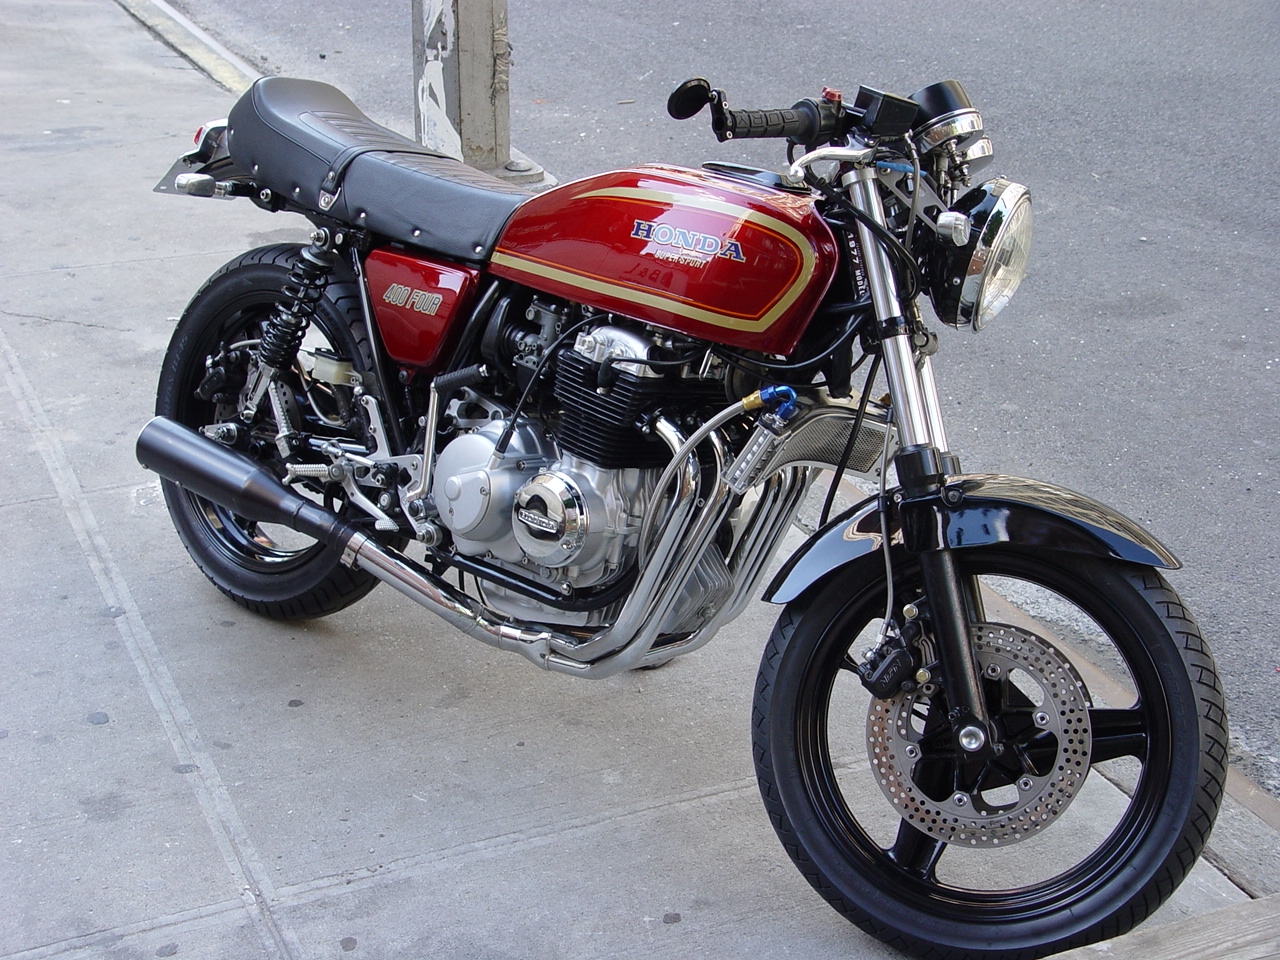
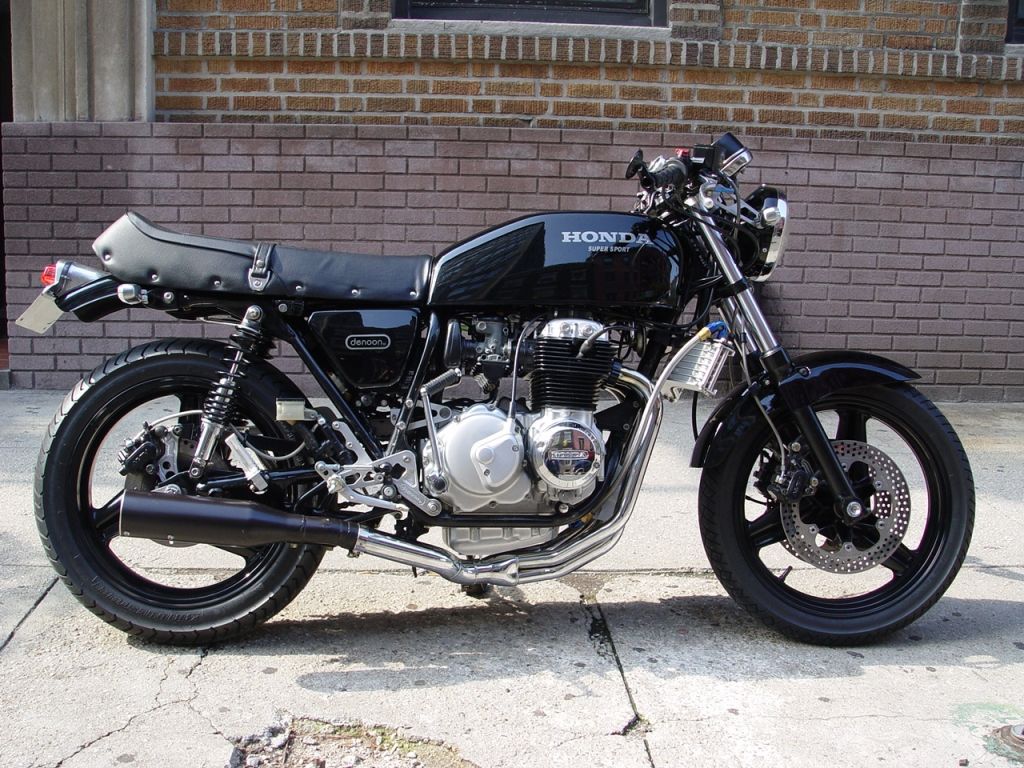
Project CB400F - NYCThe Phone Call June 2006 -- I had just got my first website up and running when I received a phone call one sunny summer day. The caller said his name was Jon Handley, and he was calling from New York City looking for some rearsets. He couldn't find anything on the market that looked good, worked without interfering with the kick starter, and that would put his feet exactly where he wanted them. He asked if I could help him out, and by agreeing to help him, little did I know that it would lead to a long term full rebuild, and a long distance friendship. Over the next 2 -3 years, we shipped the entire bike back and forth from New York, NY to Winnipeg, Canada. Everything except the frame made the trip across country.
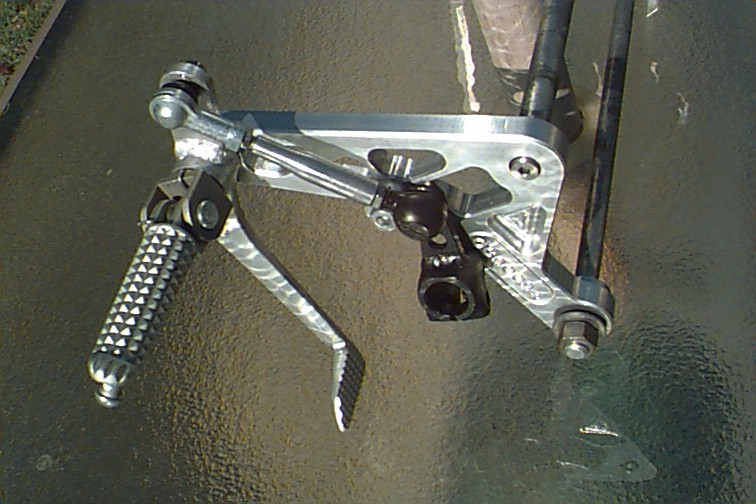
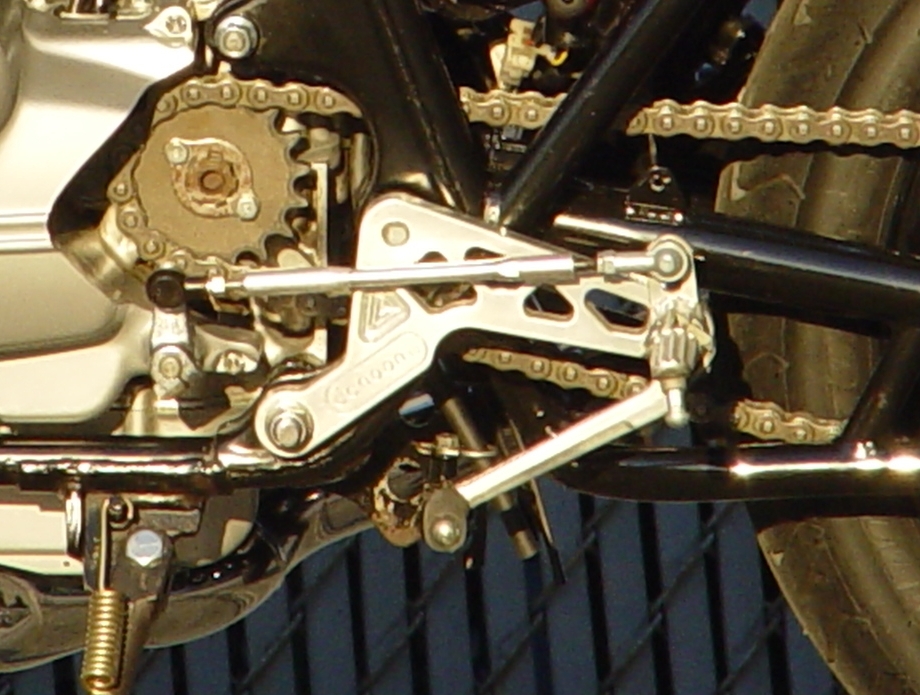
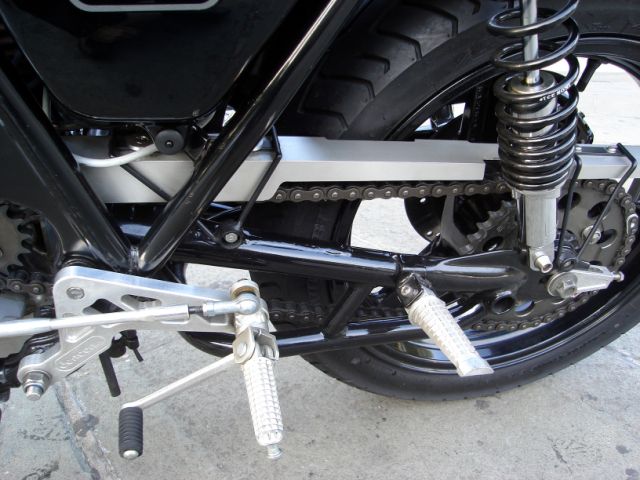
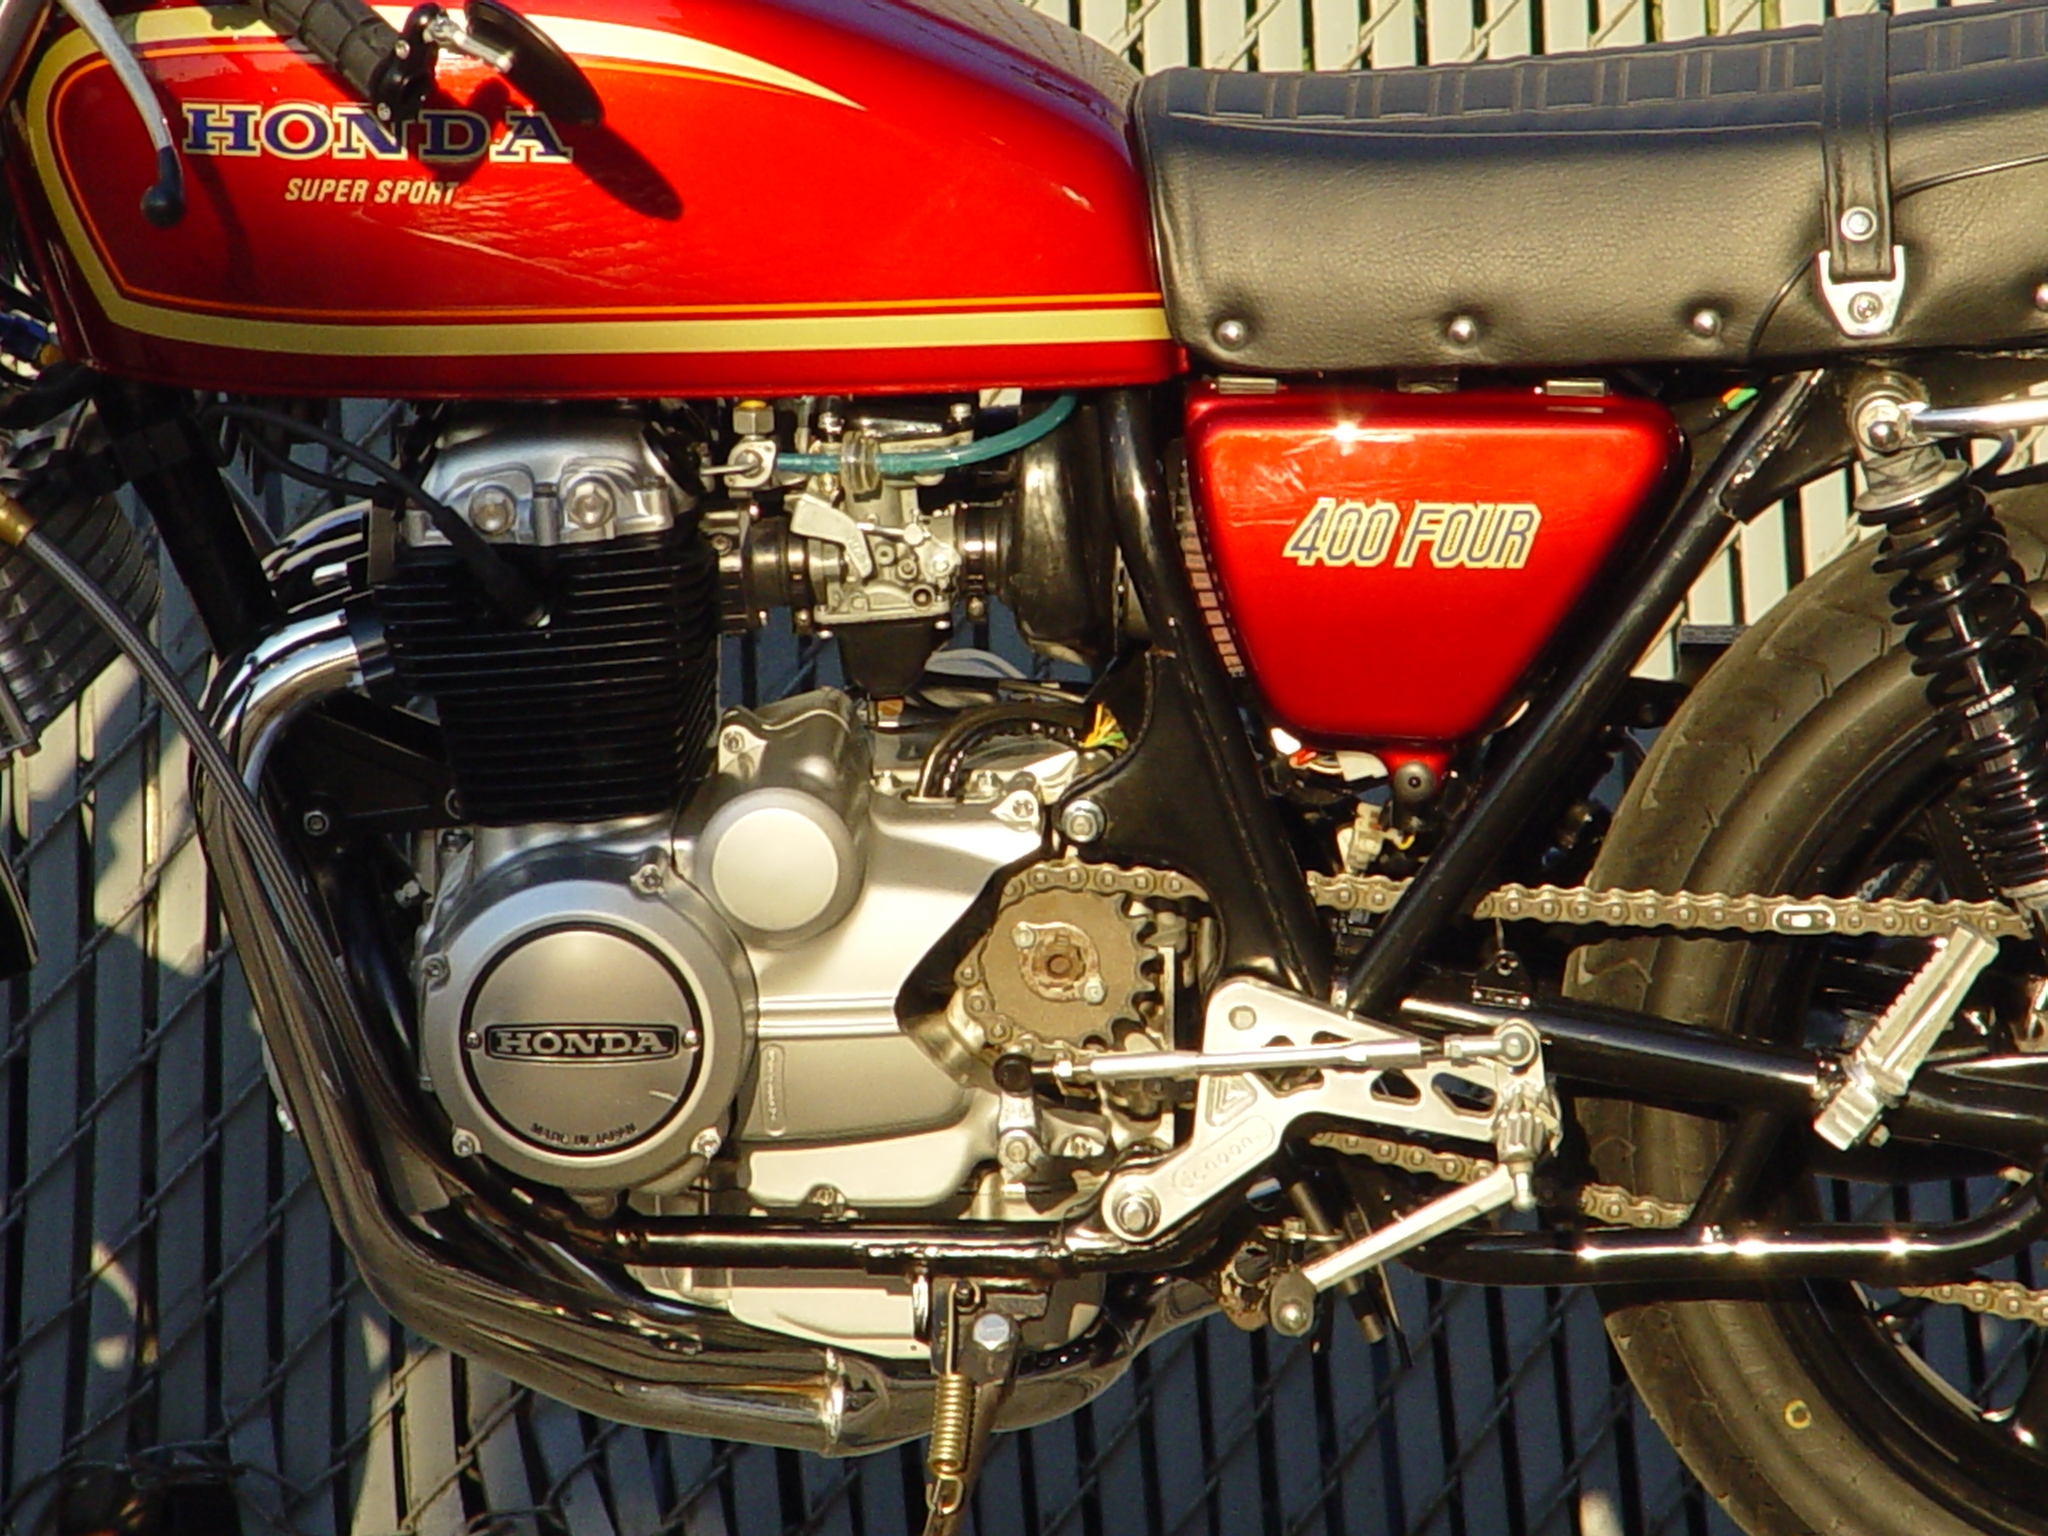
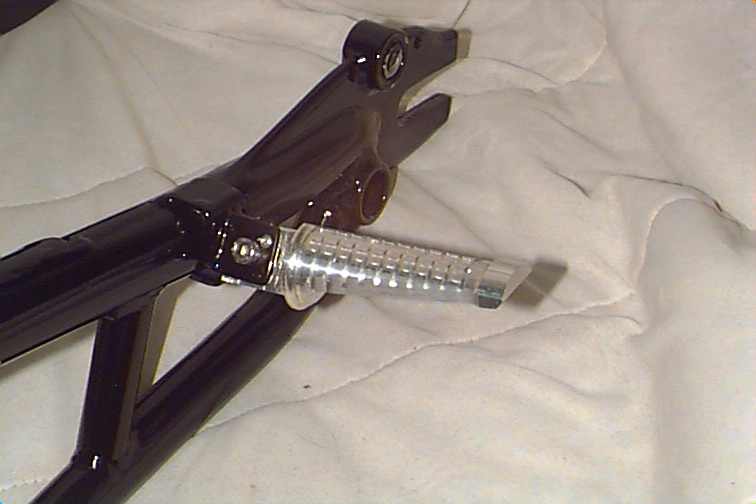
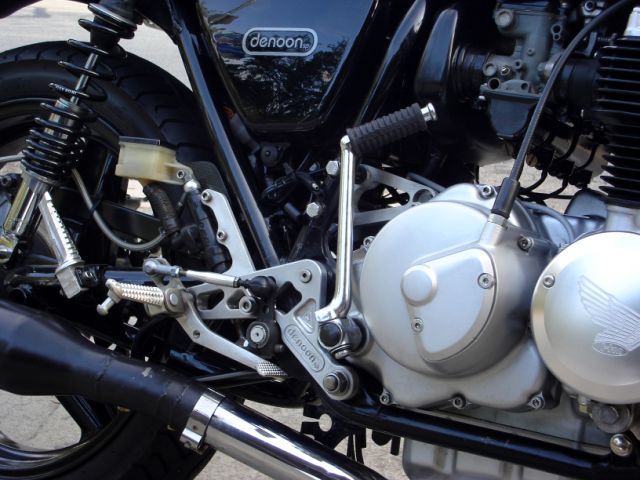
Project 1 - Rearsets The rearsets were built from a combination of Yamaha R1 pegs and linkage parts, and machined billet carriers. They mount to the stock motor mounts and the swing-arm pivot bolt, and utilize the stock brake rod and pivot cam. They were also designed to work in conjunction with the stock exhaust and exhaust mounting loop. That loop really dictates what can be done in the way of custom rearsets, and exhaust systems.
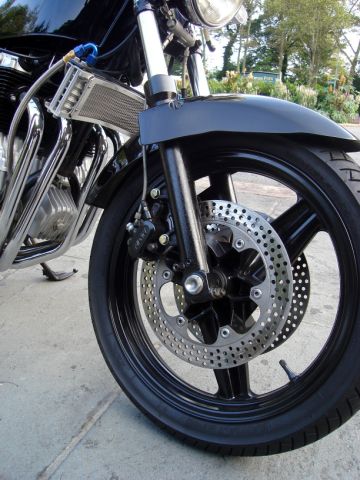
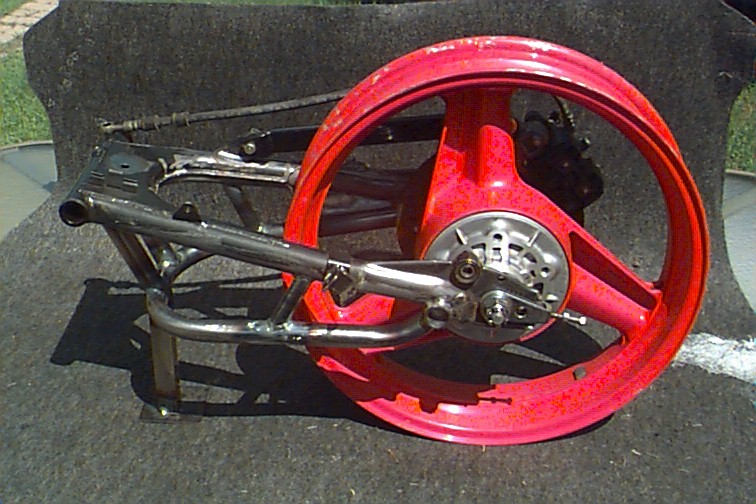
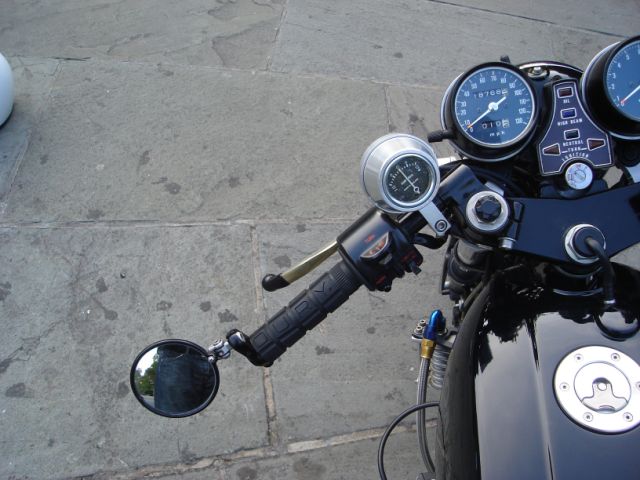
Project 2A - CBR600F1 wheel conversion The rearsets were no sooner installed when Jon was calling back and asking about upgrading to some more modern brakes, wheel, and suspension. Having had some experience mounting VF500 components on my own 400F I thought that CBR600F1 components would make good candidates, and we set about collecting the necessary parts. Jon collected forks, wheels, brakes, handlebars, fender, and anything else that we thought would be required, and shipped the whole mess up to Canada for refurbishing before being modified and installed on my test mule. Some of the parts that we got were in pretty rough condition, in fact we had to get a second set of forks and wheels because the first set was just too rough to use. We were trying to get real deals on ebay, but sometimes you get what you pay for. All the part were given a thorough going thru, seal replaced, and everything powder coated, painted, or re plated.
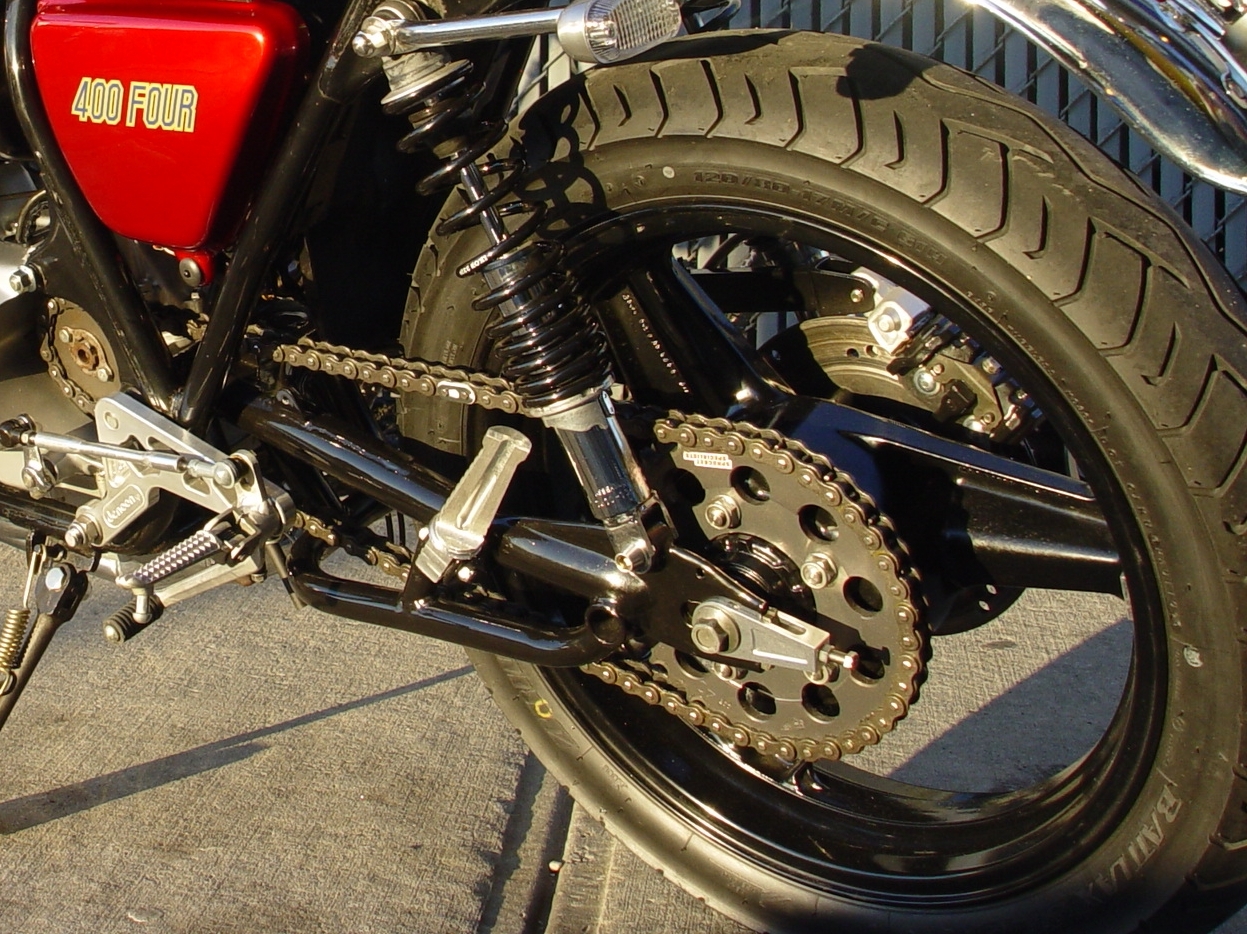
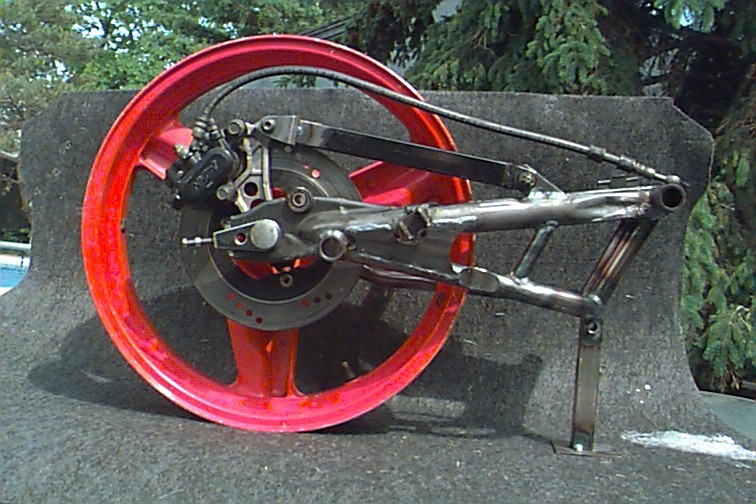
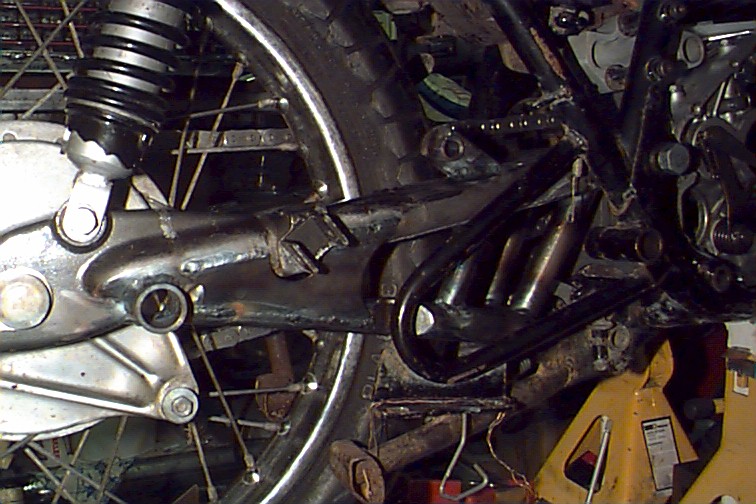
Project 2B - Braced Swing-arm Sometimes one project just seems to morph into another. While we were planning the wheel conversion, we started thinking it would be nice to stiffen up the swing-arm. Without building an entire new arm, I thought some period bracing would be fitting. The bracing on the chain side was pretty straightforward, just had to watch out for chain clearance, but the bracing on the brake side was a bit tougher. There just wasn't room to run the tubing between the tire, and the loop for the stock exhaust system mount. The final compromise was a dished tube to provide clearance. I would have preferred ditching the exhaust mount, but the customer wanted to be able to return the bike to stock if required.
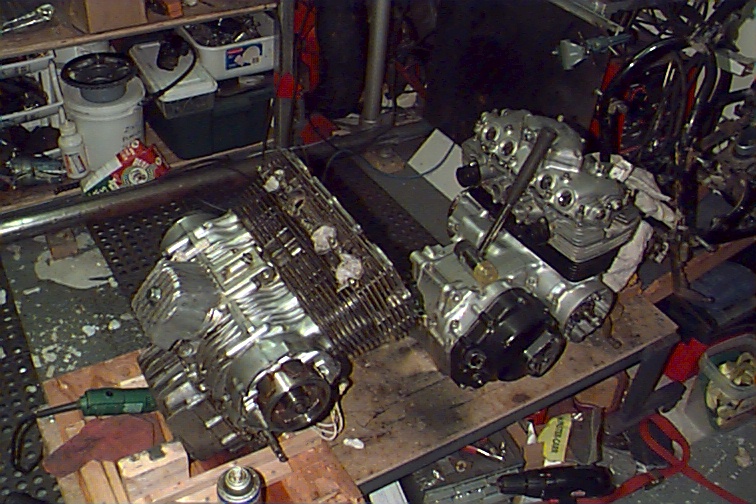
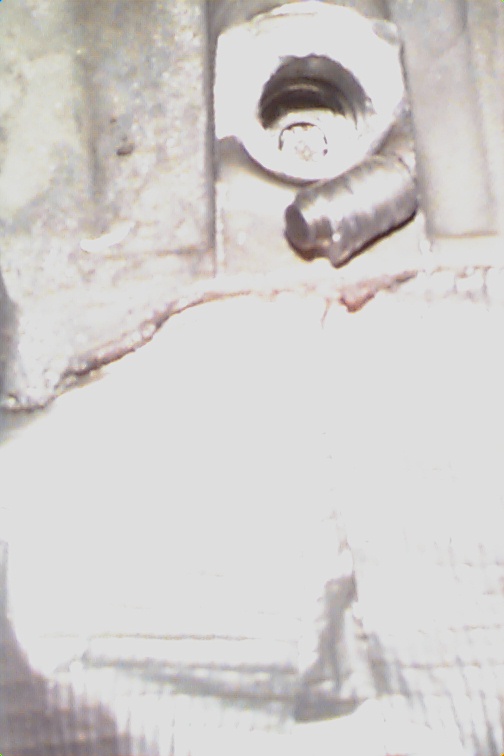
Project 3 - Engine Work About halfway thru the project, the client fessed up that the camchain bolt had broken off in the crankcases, which is not uncommon, and that in an attempt to get it out, he had broken off a bolt extractor in the bolt. Now, this added a bit to the challenge, but I figured the absolute worst thing that could happen is that I would have to split the cases to get the bolt out, and anything less than that would be gravy. So, the engine was crated up, and FedEx'd up North to the winter wonderland. I checked around town to see about getting the bolt extractor EDM'd (Electro Discharge Machining) out of the cases, but it was going to be anywhere from $300-$700. So I decided to try an alternative method. I chucked a 10mm diameter bolt in the lathe and drilled a hole in the threaded end, in effect creating a hollow tube. I then ground a series of teeth on the end face, creating a miniature hole saw. The hollow center fit over the exposed end of the broken bolt extractor and kind of used it as a centering guide. I was then able to drill down into the cases far enough to clear the threads in the case, and once past that point, the cored part came loose. I machined an insert with 12mm OD threads and 8mm ID threads, threaded the hole in the case to 12mm, and screwed and epoxied the insert in place. The 8mm threads are less fragile than the 6mm from the factory, and I simply machined up a Stainless bolt to fit, replacing the stock locking bolt.
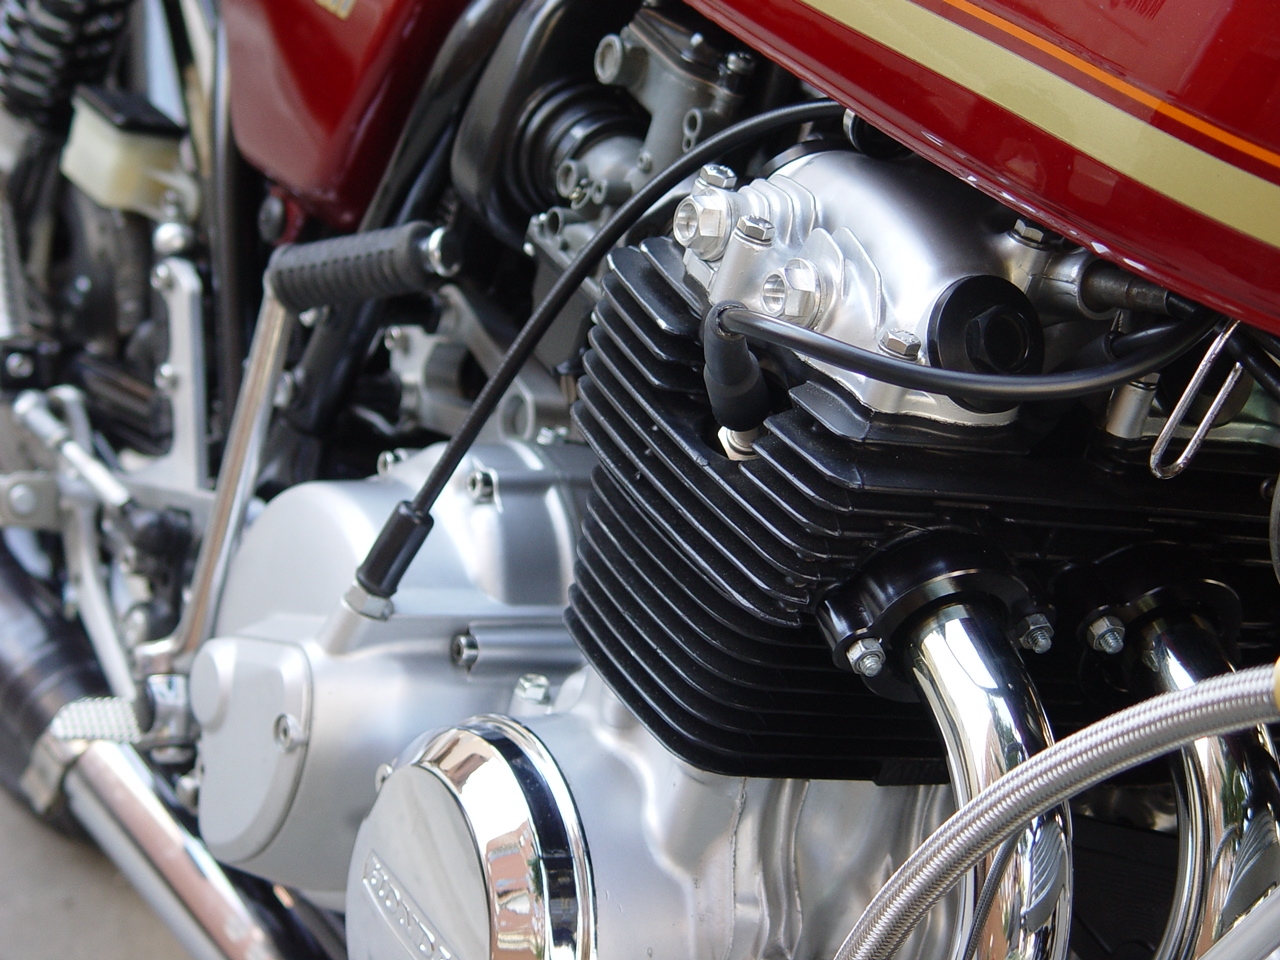
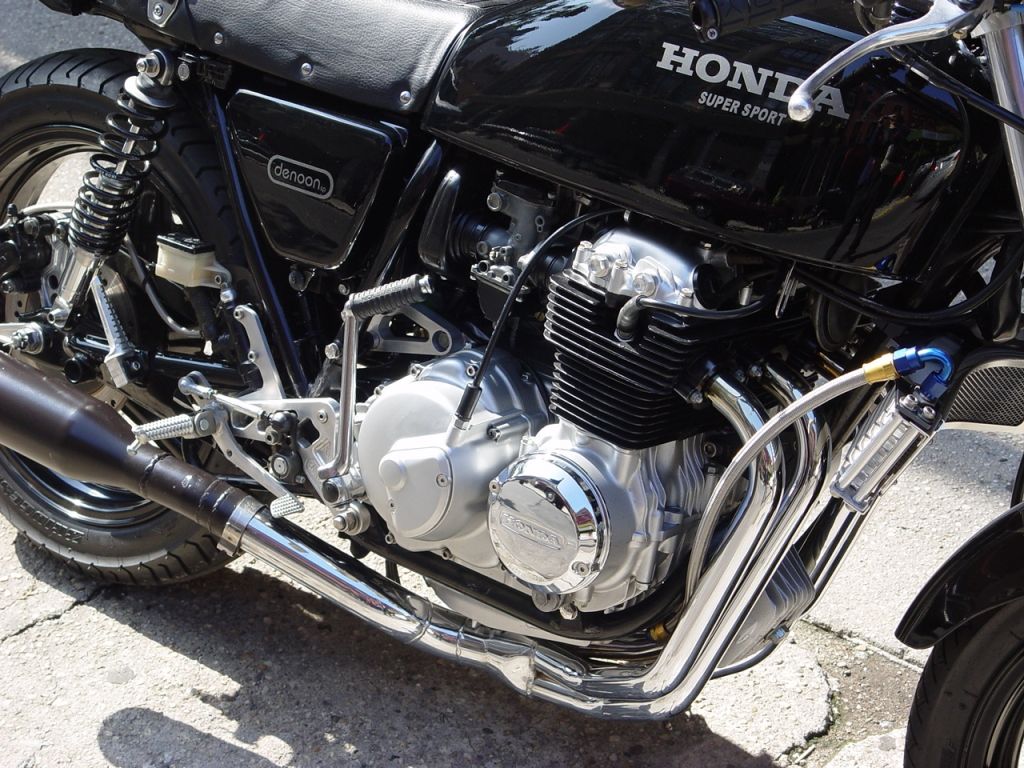
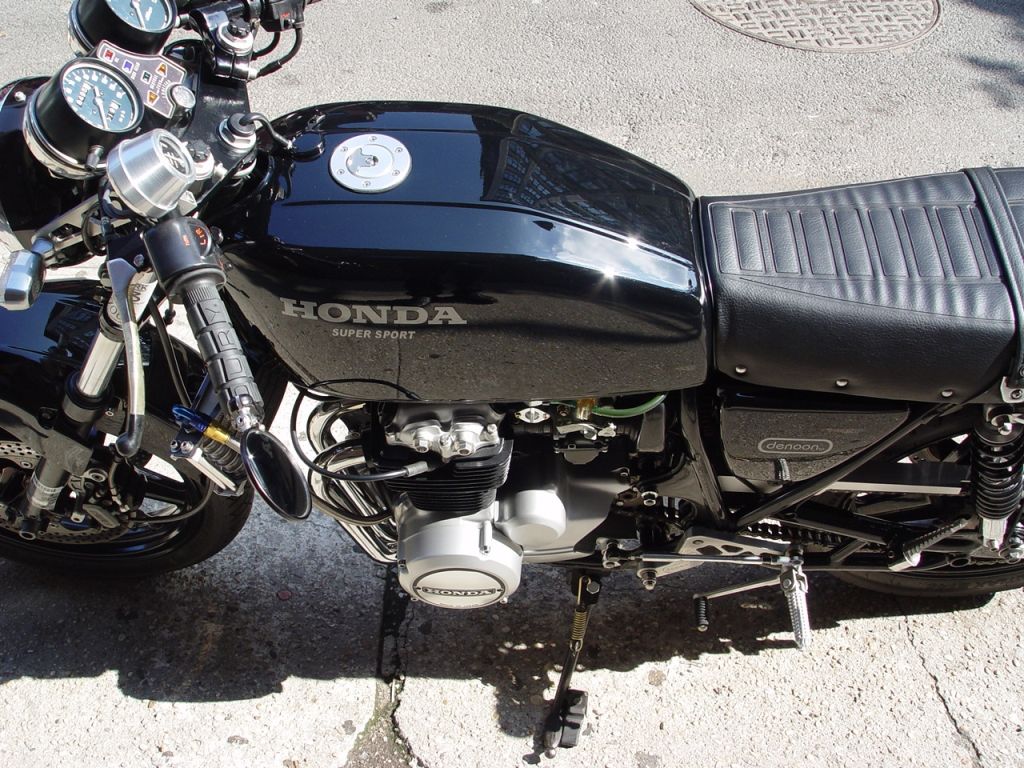
While the engine was here, it was cleaned and repainted, and all the hardware was either replaced or re plated. I think the results were pretty good.
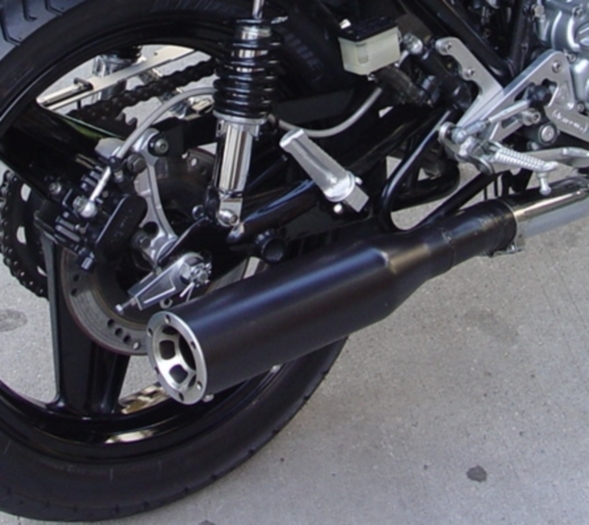
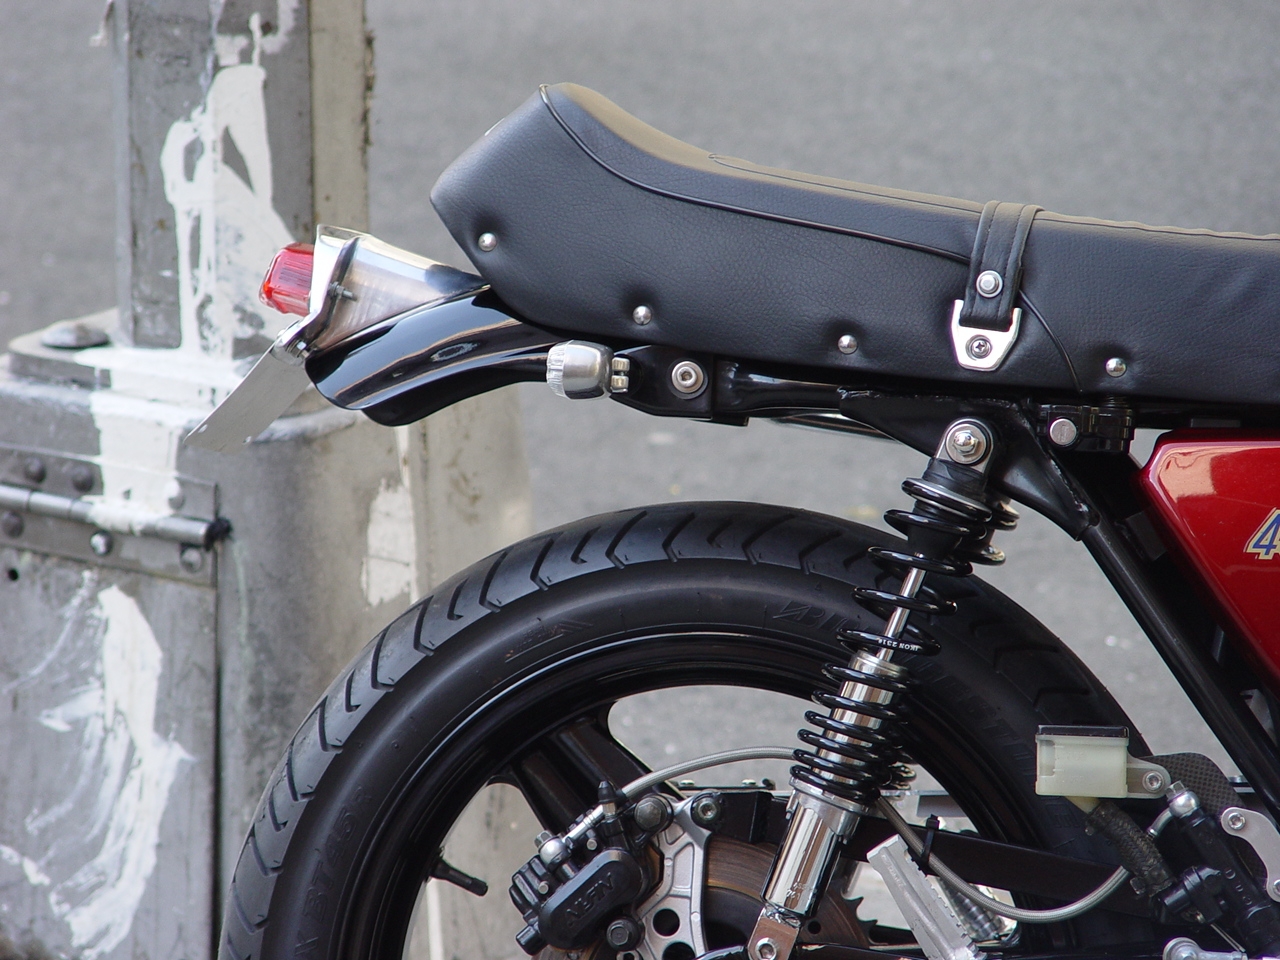
Project 4 - Supertrapp Muffler My client had found a new Kerker exhaust system on ebay, but it was missing the mounting strap that hung off the right shock mount and supported the muffler. Looking at some period photographs he wasn't too enamored with the look of the mounting strap anyway, so he decided to go with something a bit more compact, that could attach to the stock muffler mount. He selected a Supertrapp slip-on that mated up the Kerker header with some custom tubing. I purchased some mandrel bends, and a few saw cuts and TIG welds later, the muffler was on. There were optional end caps available at one time for the Supertrapp muffler, so I came up with a design that made the customer happy, and one was promptly machined from aluminum.
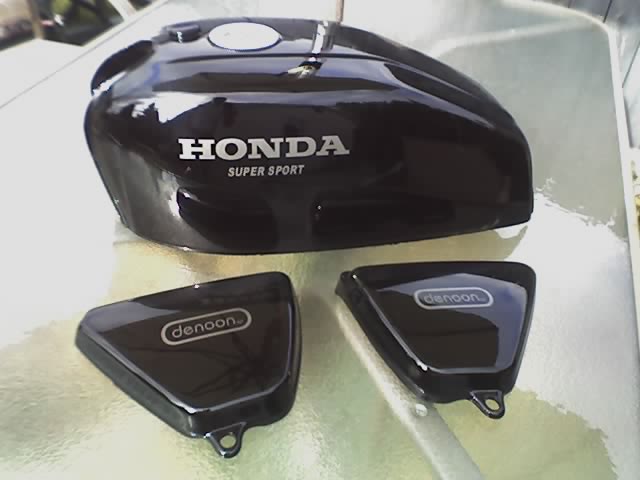
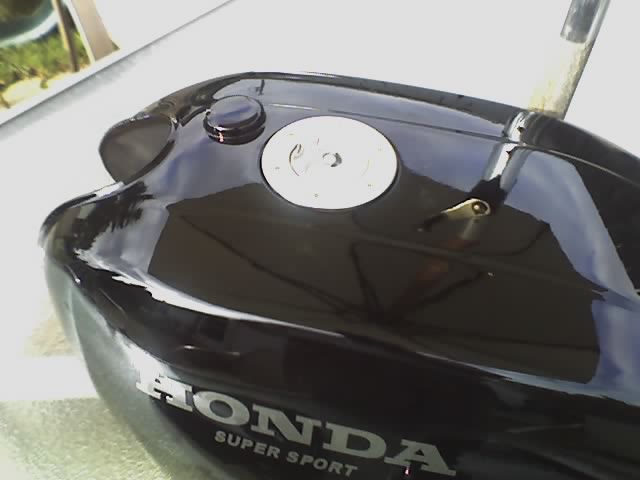
Project 5 - New Bodywork Even though the paintwork on the bike was almost new, the client saw a nice aluminum aircraft filler cap on the net and wanted to know if I could install it in a spare tank. Another plate of steel sacrificed to the lathe and some more TIG welding later and the tank was off to the painters. Along with it went a new set of side covers, and the customer wanted to let people know who did the work for him so he had a company make up a set of denoonsp decals. The cap didn't have a vent built in to it, so we opted for a bit of dirt bike technology, and built a small baffle with a vent hose.
Project 6 - Odds'n Ends We also did a bit of extra cleanup of various parts
This bike has since been sold to make room for a VF500 that is already getting a mild makeover with modified suspension and 17" wheels. Thanks to Jon Handley for allowing me to work on his baby.
denoonsp |


This website was powered by Ewisoft Website Builder.